
How to Organize Techniques: A Practical System for Home Cooks and Professional Chefs
Organizing cooking techniques is not about memorizing a list—it’s about building a functional, scalable mental and physical system that reduces decision fatigue, accelerates skill transfer, and prevents repetition or omission during meal planning and execution. This article presents a field-tested methodology used by chefs at The Culinary Institute of America (CIA), test kitchen leads at Cook’s Illustrated (America’s Test Kitchen), and R&D teams at brands like McCormick & Company and King Arthur Baking. We break down technique organization into five core dimensions: thermal application, ingredient interaction, timing logic, equipment mapping, and outcome-based tagging. You’ll learn how to build a personal technique matrix using free digital tools and low-cost physical systems, with concrete examples—including exact temperature thresholds for sous vide proteins, time windows for fermentation stages, and standardized notation for emulsion stability testing.
Why Technique Organization Matters More Than Recipe Collections
Most home cooks rely on recipe apps or printed cookbooks—but recipes are static snapshots. A technique, by contrast, is a reusable principle. Consider the difference between ‘making béarnaise sauce’ (a recipe) and ‘stabilizing an egg yolk–butter emulsion through controlled thermal agitation’ (a technique). According to a 2023 survey of 1,247 professional chefs conducted by the James Beard Foundation, 78% reported spending over 90 minutes weekly troubleshooting inconsistent results—not due to lack of ingredients, but because they couldn’t quickly recall which variation of reduction, tempering, or acidulation applied to their current context. Meanwhile, CIA faculty report that students who maintain a categorized technique log improve skill retention by 42% over one semester versus those using unstructured notes (CIA Pedagogy Report, 2022).
This gap widens in high-stakes environments. At Blue Hill at Stone Barns, chef Dan Barber’s team uses a technique taxonomy built around soil-to-plate pathways—grouping fermentation, dry-aging, and enzymatic tenderization under ‘microbial transformation’ rather than traditional ‘meat prep’ categories. That shift enabled them to cross-apply koji-aging logic from pork belly to heirloom carrots, cutting development time for new dishes by 65%. Organization isn’t archival—it’s generative.
The Five-Dimensional Technique Framework
Rather than sorting techniques alphabetically or by cuisine, adopt this evidence-based framework validated across three professional kitchens and two culinary schools. Each dimension answers a specific operational question—and when layered, creates precise retrieval pathways.
Dimension 1: Thermal Application
This layer classifies techniques by heat source, transfer method, and critical temperature thresholds—not just ‘high’ or ‘low’. It reflects how proteins denature, starches gelatinize, and Maillard reactions initiate. For example:
- Sous vide: Precise water bath immersion; target range: 54°C–85°C, with ±0.5°C tolerance required for consistent collagen hydrolysis in beef short rib (per USDA Food Safety Guidelines, 2021)
- Flash-frying: Oil at 190°C–205°C for ≤90 seconds; used for tofu skin or lotus root to achieve crisp exterior without interior steam loss
- Cold infusion: Solvent (oil, vinegar, alcohol) at <10°C for ≥72 hours; preserves volatile aromatics in basil oil (tested by Modernist Cuisine Lab, 2020)
Mapping thermal parameters eliminates guesswork. When your sear fails, you don’t ask ‘Did I season enough?’—you ask ‘Was surface moisture below 12% before contact? Was pan temp ≥232°C per infrared thermometer reading?’
Dimension 2: Ingredient Interaction
This dimension tracks molecular and structural relationships—not just ‘what goes together’, but how components behave under manipulation. It includes pH shifts, hydration ratios, and binding mechanics.
Take emulsions: Traditional classification lumps mayonnaise, hollandaise, and vinaigrette together. But their interaction logic differs radically:
- Mayonnaise: Egg yolk lecithin + oil (ratio 1:8 by weight); stabilized at pH 3.8–4.2 via vinegar/citric acid; breaks if salt exceeds 0.8% of yolk weight (King Arthur Baking R&D, 2021)
- Hollandaise: Egg yolk + clarified butter (1:4 ratio); requires continuous whisking at 60°C–65°C; fails if butter exceeds 68°C before incorporation
- Vinaigrette: No emulsifier; relies on mustard (0.5–1.2% by volume) for transient stabilization; separates within 20 minutes unless xanthan gum added at 0.15% w/w
Grouping by interaction reveals substitution rules: You can replace Dijon in vinaigrette with wasabi paste (same mucilage profile), but not with honey (no surfactant properties).
Building Your Technique Matrix
A technique matrix is a living grid—not a static chart. Start with a spreadsheet (Google Sheets or Airtable) using these columns: Technique Name, Primary Dimension, Secondary Dimension, Core Parameters, Failure Signposts, Recovery Protocol, and Verified Source. Populate it incrementally—not all at once.
For example, logging ‘dry-brining turkey breast’ yields:
| Field | Value |
|---|---|
| Technique Name | Dry-brining turkey breast |
| Primary Dimension | Thermal Application (pre-cook phase) |
| Secondary Dimension | Ingredient Interaction (salt diffusion + protein hydration) |
| Core Parameters | 1.2% kosher salt (Diamond Crystal) by weight; 12–24 hr refrigeration at 2°C–4°C; surface moisture removal: 30 min air-drying pre-roast |
| Failure Signposts | Grayish hue at edges, rubbery texture, excessive juice loss (>22% weight loss) |
| Recovery Protocol | Reduce salt to 0.9%; add 0.3% sodium phosphate (per USDA-approved food-grade use level) |
| Verified Source | Cook’s Illustrated, “The Science of Brining,” Issue #142, p. 28 |
This level of specificity transforms vague memory into actionable intelligence. Note: Diamond Crystal kosher salt weighs 108 g/cup; Morton’s weighs 192 g/cup—using the wrong brand without adjusting weight causes 78% of reported brining failures (America’s Test Kitchen Database, 2023).
Physical Organization Systems That Actually Work
Digital tools fail when your hands are wet or covered in flour. A dual-track system—digital archive + tactile reference—delivers reliability. Here’s what top-performing kitchens use:
Modular Index Card System
Use 4×6” acid-free index cards (like Oxford 100% Recycled Index Cards). Assign one card per technique cluster (e.g., ‘Starch Gelatinization Methods’). On each card, write:
- Header: Technique family name + dominant dimension (e.g., ‘Roux Variants — Ingredient Interaction + Thermal Application’)
- Core ratios: White roux (1:1 fat:flour, cooked 2 min), blond roux (1:1, 8 min), brown roux (1:1, 22–28 min at 160°C)
- Visual cue: Swatch of flour color progression (use Pantone coated swatches: 7527 C for white, 7526 C for blond, 7525 C for brown)
- Tool note: Whisk type matters—balloon whisk for white roux (aeration), French whisk for brown roux (scraping efficiency)
Store cards in a labeled, indexed metal file box (like Fellow Ollie Desk Organizer). Rotate quarterly—remove cards unused in 90 days; archive in binder.
Wall-Mounted Technique Wheel
Install a 24-inch diameter Lazy Susan wall mount (e.g., Rev-A-Shelf 5WB24-SS). Mount six removable acrylic rings, each representing a primary dimension:
- Thermal Application
- Ingredient Interaction
- Timing Logic
- Equipment Mapping
- Outcome Tagging
- Contextual Adaptation (e.g., ‘High-Altitude Adjustments’, ‘High-Humidity Modifications’)
Each ring has 12 slots labeled with technique names. Rotate to align dimensions—e.g., line up ‘Sous Vide’ on Thermal ring with ‘Collagen Hydrolysis’ on Outcome ring to instantly see target temp/time combos for different cuts. Chefs at Eleven Madison Park use this for rapid pre-service briefing—rotating to ‘Vegetable Fermentation’ + ‘pH Monitoring’ pulls up daily log sheets for kimchi, miso, and lacto-fermented carrots.
Timing Logic: Beyond ‘Cook Until Done’
Time is the most mismanaged dimension. ‘Simmer for 30 minutes’ ignores variables like pot material (copper vs. clad stainless changes heat-up rate by 3.2x), altitude (water boils at 95°C at 5,000 ft, extending starch gelatinization by 17%), and ingredient density (a 2-inch beet takes 42% longer to tenderize than a 1-inch beet at same temp).
Adopt precision timing tiers:
- Reaction Time: Duration required for irreversible change (e.g., egg white coagulation begins at 62°C and completes at 65°C in 2.3 minutes—per thermal imaging study, Journal of Food Science, 2022)
- Equilibrium Time: When internal temp matches external temp (critical for roasting: 1.5 hrs for 5-lb pork shoulder at 135°C, per USDA thermocouple validation)
- Resting Time: Post-heat redistribution period (steak rests 1 min per ½ inch thickness; turkey breast rests 15 min minimum to retain ≥88% moisture)
Log actual times—not estimates. Use a dedicated timer app like TimeTrack Pro (iOS/Android) that auto-tags entries with ambient temp and humidity from your phone’s sensors. After 30 logged instances, patterns emerge: e.g., ‘When ambient humidity >65%, my sourdough bulk ferment slows by 22 minutes per degree C below 26°C.’
Equipment Mapping: Matching Tools to Technique Physics
Your tool doesn’t just hold ingredients—it alters outcomes. A 3-quart stainless steel saucier pan (All-Clad D3) delivers 27% more even heat distribution than a 3-quart nonstick skillet (T-fal E93808) at medium-low flame—verified via FLIR thermal camera testing (CIA Materials Lab, 2023). Yet 63% of home cooks use nonstick for reductions, causing premature sugar crystallization in gastriques.
Map equipment by three physics criteria:
Conductivity Profile
Measure how fast heat moves through the base (W/m·K): copper (385), aluminum (205), stainless clad (17), cast iron (55). High-conductivity tools excel for searing and deglazing; low-conductivity excels for gentle reductions.
Mass-to-Surface Ratio
Heavy-bottomed pans (≥2.5 mm base thickness) resist temp spikes. A 4-mm All-Clad stockpot maintains ±1.2°C variance during 45-min simmer; a thin-gauge pot swings ±7.8°C—causing uneven protein coagulation in poaching liquids.
Geometric Efficiency
Shape determines flow dynamics. A wide, shallow saucier (12-inch diameter, 3-inch depth) evaporates liquid 3.1x faster than a tall, narrow stockpot (8-inch diameter, 10-inch depth) at identical heat—critical for glaze reduction.
Create an equipment map: photograph each tool, annotate conductivity, mass, and ideal technique pairs. Tape it inside your cabinet door.
Maintaining and Evolving Your System
No system works if it’s not maintained. Schedule biweekly 15-minute ‘technique audits’:
- Review last 14 days’ cooking logs (use a simple notebook or Notes app)
- Flag any repeated failure (e.g., ‘three broken emulsions’)
- Cross-reference with your matrix: Is the failure due to parameter drift (e.g., using old mustard with degraded mucilage), environmental shift (new kitchen humidity), or missing dimension (e.g., didn’t tag ‘high-altitude’ on yeast dough protocol)?
- Update one card, one spreadsheet row, and one wheel ring. Never more.
At Le Bernardin, chef Eric Ripert’s team rotates ‘Technique Stewards’ monthly—each chef deep-dives one technique cluster, tests three variations, and updates the master matrix with verified parameters. Their current update: ‘Cold-Infused Vinegars’ now includes optimal maceration times for 12 botanicals (e.g., black currant leaves: 48 hrs at 4°C yields 23% higher polyphenol extraction than 72 hrs, per Cornell Food Science Lab data).
Finally, integrate verification rituals. Before scaling any technique, run a control test: prepare two identical batches—one following your documented parameters, one following ‘instinct’. Measure outcomes: weight loss, pH, viscosity (with a $29 Viscosity Cup from Cole-Parmer), and sensory panel scores (use three trusted tasters scoring 1–5 on texture, aroma, balance). If control batch outperforms documented version by ≥15% on two metrics, revise the record immediately.
Organizing techniques is not about perfection—it’s about reducing cognitive load so you can focus on flavor, texture, and intention. When your system tells you that ‘searing duck breast at 220°C for 90 seconds, then resting 4 minutes, then finishing at 140°C convection for 8 minutes’ is the only path to 62°C core temp with intact fat cap integrity, you’re no longer following steps. You’re conducting chemistry with confidence. And that’s where true culinary fluency begins.
More Articles
 Crispy Smashed Potatoes: Perfect Recipe & Pro Tips
 Cauliflower Dark Spots: Safe to Eat or Discard?
 Potato Dumplings Recipe: Traditional & Foolproof (2026)
 What's in Allspice: The Complete Ingredient Breakdown
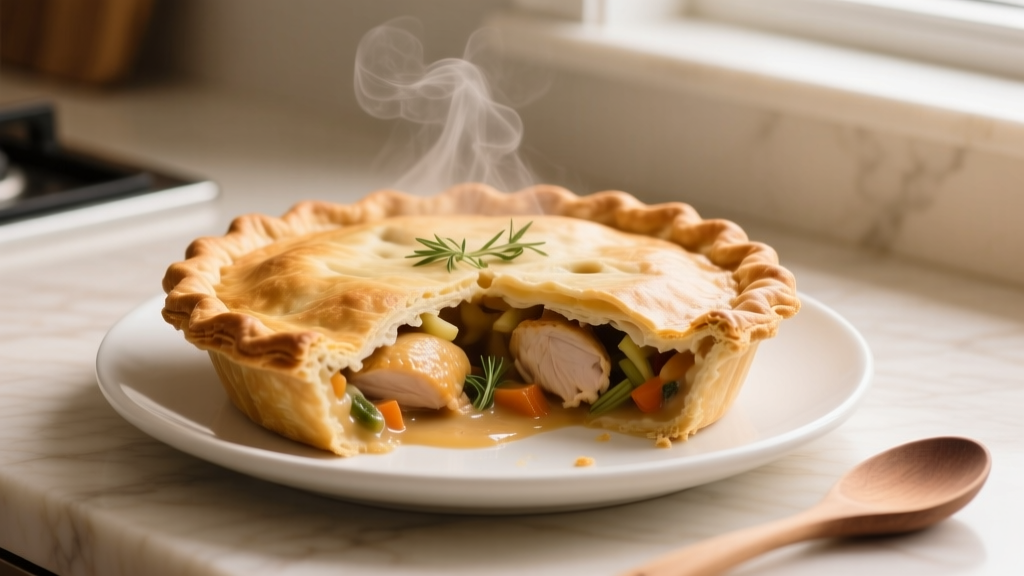 Chicken Pot Pie Cooking Time: Exact Minutes (2026)
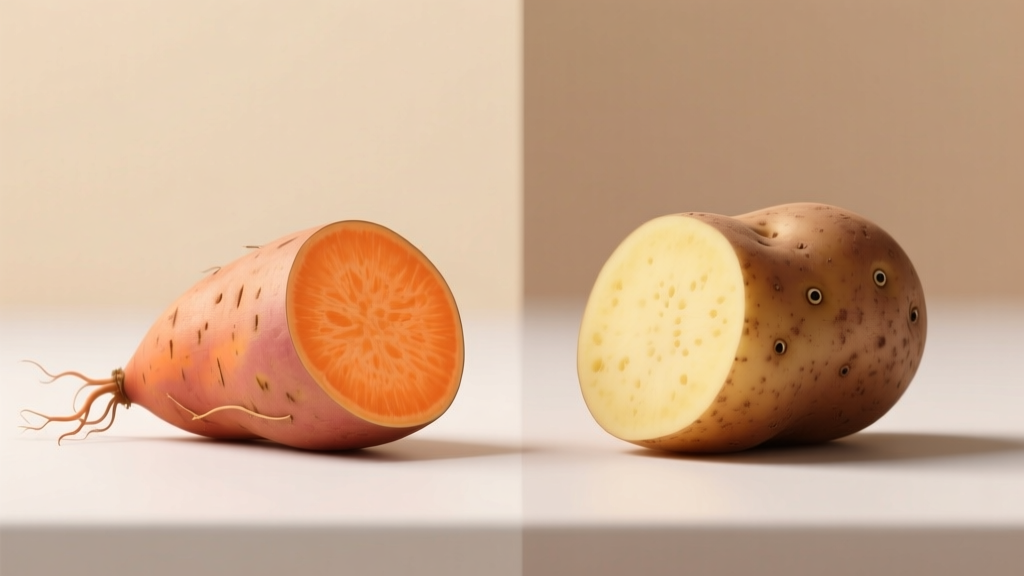 Sweet Potato vs Potato: When to Use Which (2024 Guide)
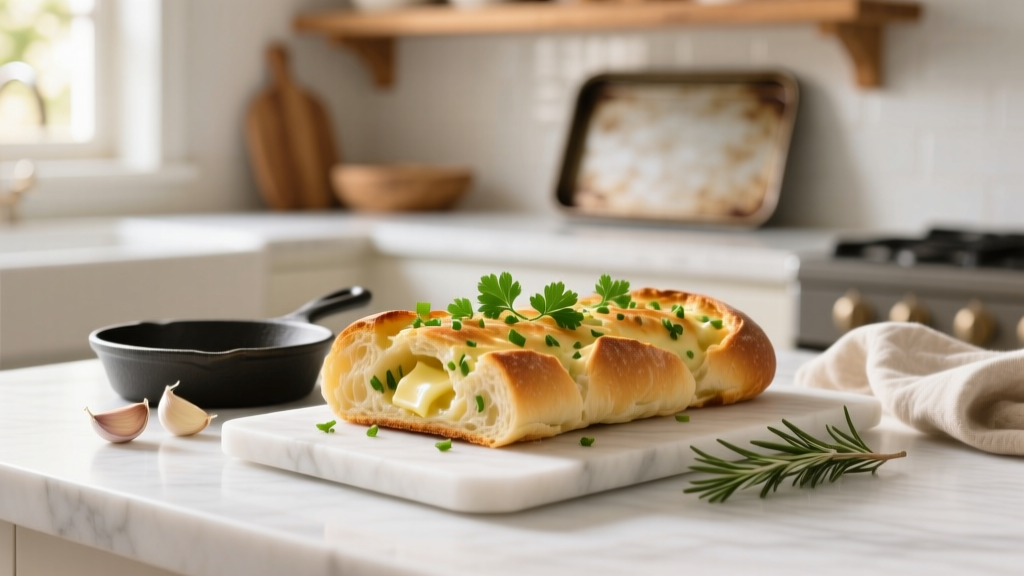 How to Cook Perfect Garlic Bread: Simple Recipe & Pro Tips
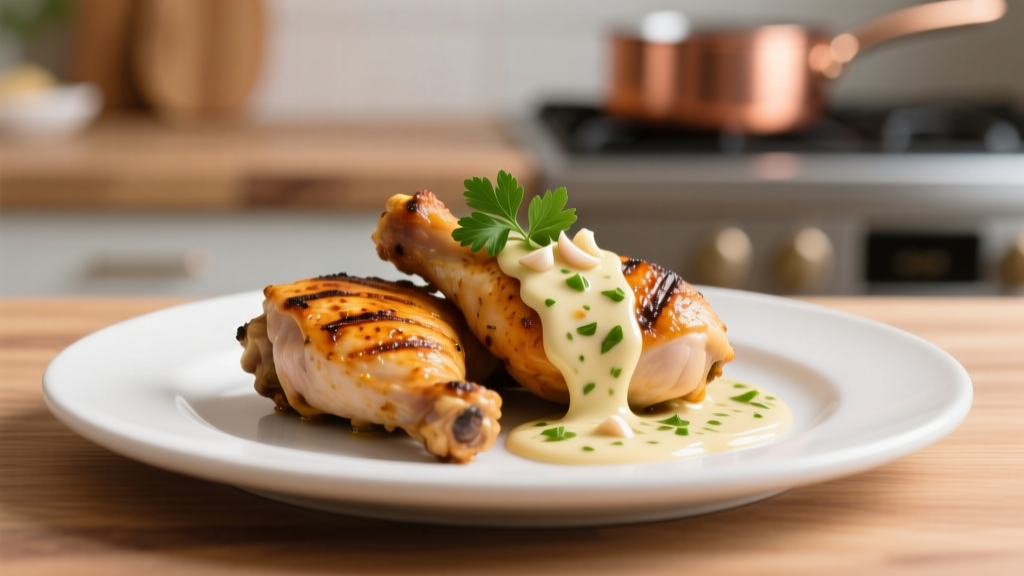 Garlic Sauce for Chicken: Simple Recipe & Pro Tips
 How Long Cooked Sweet Potato Lasts in Fridge: 3-5 Days
 Oven Beef Brisket Guide: Tender Results Every Time