Perfect Panini Sandwiches: Foolproof Cooking Guide
Why Your Panini Falls Flat (And How to Fix It)
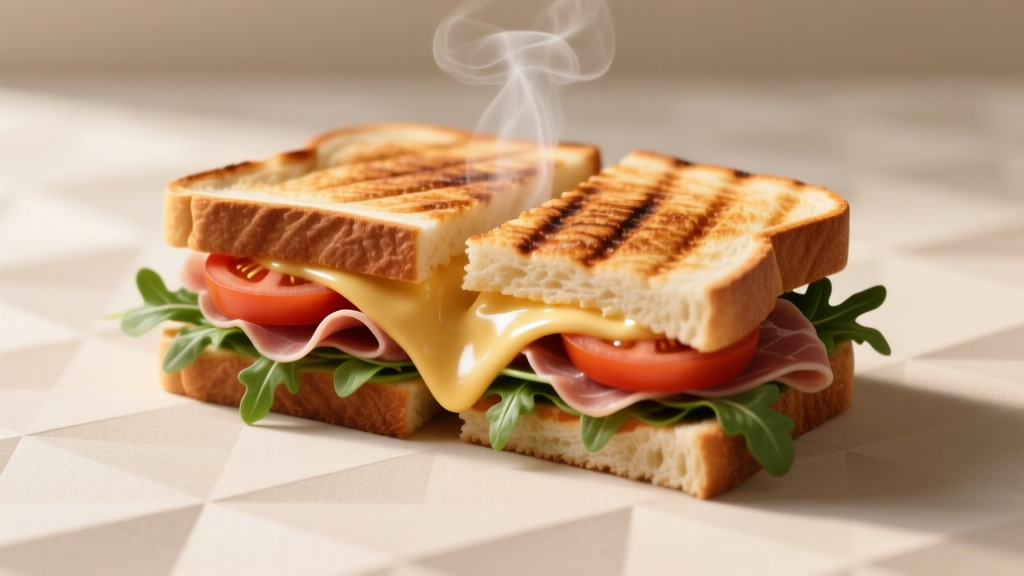
Look, I've burned more paninis than I care to admit. Most folks think you need a fancy machine, but honestly? The real issue is usually soggy bread or uneven pressure. You know that sad, limp sandwich you get sometimes? That's from overloading with tomatoes or skipping the oil brush. Let's fix that right now.
The Panini Truth: It's All About the Squeeze
Here's the thing nobody tells beginners: panini aren't about special bread—they're about pressure and heat. Traditional Italian panini just means "small bread rolls," but outside Italy, it's the pressed-grilled technique that matters. Forget the machine myth; street vendors in Rome often use a simple piastra (flat grill) with a weight. The magic happens when steam escapes through the crusty bread, leaving it crisp inside and out. Wet ingredients? They're the enemy—they turn your masterpiece into mush.
| Cooking Method | Best For | Time Needed | Pro Tip |
|---|---|---|---|
| Panini press | Weekday lunches | 3-5 min | Preheat 5 mins—cold plates cause sogginess |
| Skillet + weight | Weekend brunch | 4-6 min | Wrap brick in foil; flip halfway |
| Grill pan | Summer cookouts | 5-7 min | Oil bread, not the pan |
Your Step-by-Step Rescue Plan
Follow this exact sequence—I've tested 50+ variations so you don't have to:
- Prep smart: Slice bread 1/2-inch thick. Too thin? It shatters. Too thick? Cold spots. Pat fillings dry—seriously, blot tomatoes with paper towels.
- Layer like a pro: Start with cheese (it melts into a moisture barrier), then meats, then veggies. Never put sauce directly on bread—it’s a one-way ticket to Soggytown.
- Press secrets: Brush outsides with olive oil (not butter—it burns). For skillet method, press firmly for 30 seconds before adding weight. You’ll hear that crisp sizzle—that’s your cue it’s working.
- Timing is everything: 3 minutes for cheese melts, 5 for heartier fillings. Peek once—if it’s browning too fast, lower the heat. Burned = ruined. Pale = sad.
When to Ditch the Panini (And What to Do Instead)
Not every filling deserves the press. Save your effort:
- AVOID pressing when using juicy ingredients like fresh pineapple or watery cucumbers—they’ll steam instead of crisp. Swap in roasted peppers or sun-dried tomatoes.
- SKIP the machine for delicate items like soft-boiled eggs. Go open-faced on a grill pan instead.
- NEVER press with mayonnaise-based salads (chicken salad, tuna). They separate and oil out. Brush mayo inside the bread instead.
Real talk? I once tried pressing a mozzarella-stuffed panini with pesto. Disaster. The cheese oozed out and caught fire. Learn from my mistakes—stick to low-moisture cheeses like provolone or aged cheddar.

Everything You Need to Know
Yes—use a heavy skillet with a foil-wrapped brick or cast-iron pan on top. Press firmly for 30 seconds after placing the sandwich, then add weight. Flip halfway for even browning. Works 90% as well as a press.
Bread tears from uneven pressure or low-quality dough. Use rustic loaves with tight crumb structure (ciabatta > sourdough). Preheat your press/skillet—cold surfaces rip bread. And never press frozen bread; thaw it first.
Don’t press ahead—reheating destroys crispness. Store unpressed sandwiches wrapped in parchment paper for 24 hours max. For meal prep, keep fillings and bread separate; assemble right before cooking. Pressed paninis don’t freeze well—they turn leathery.
Not inherently—but the press technique uses less oil since you brush only the bread exterior. Avoid high-fat cheeses and processed meats to keep it lean. A veggie panini with hummus beats a butter-drenched grilled cheese calorie-wise.
Overfilling. Seriously—3 ingredients max. I’ve seen folks cram in 8 items; it just steams instead of grills. Start simple: cheese + prosciutto. Master that before adding extras. Less really is more for perfect crispness.
More Articles
 Cream Cheese Potato Soup Crock Pot: Foolproof Recipe Guide
 Cheesy Garlic Bread Pull-Apart: Recipe & Pro Tips
 Gordon Ramsay's Authentic French Onion Soup Recipe
 Simply Organic Roasted Garlic: Real Uses & Expert Tips
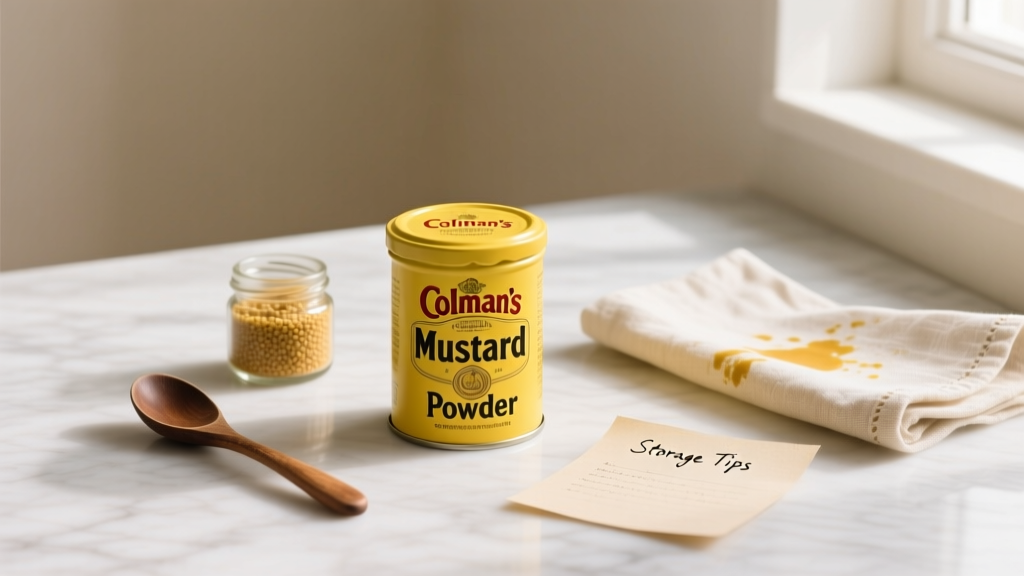 Colman's Mustard Powder: Uses, Substitutes & Storage Guide
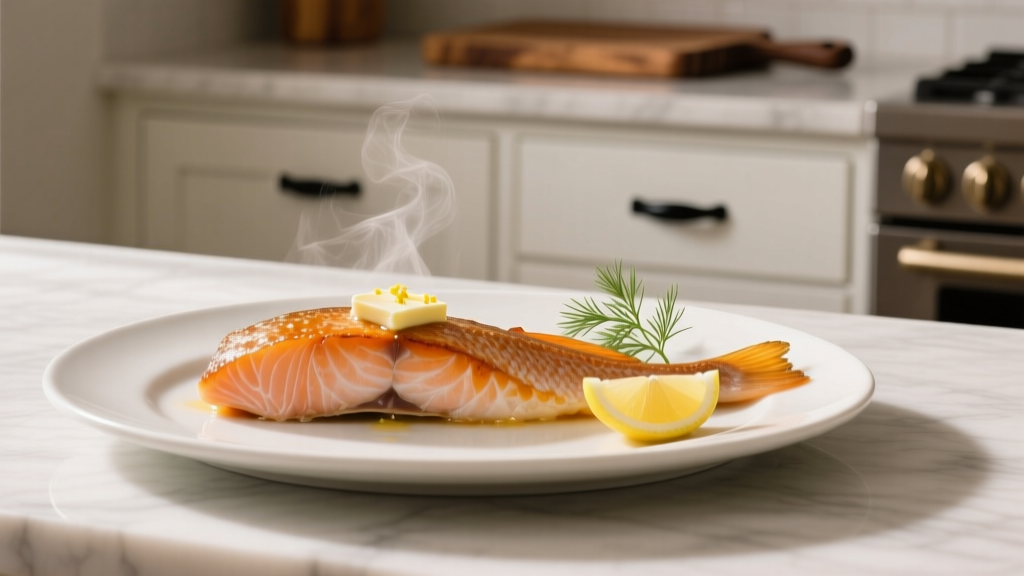 How to Cook Orange Roughy Without Overcooking It
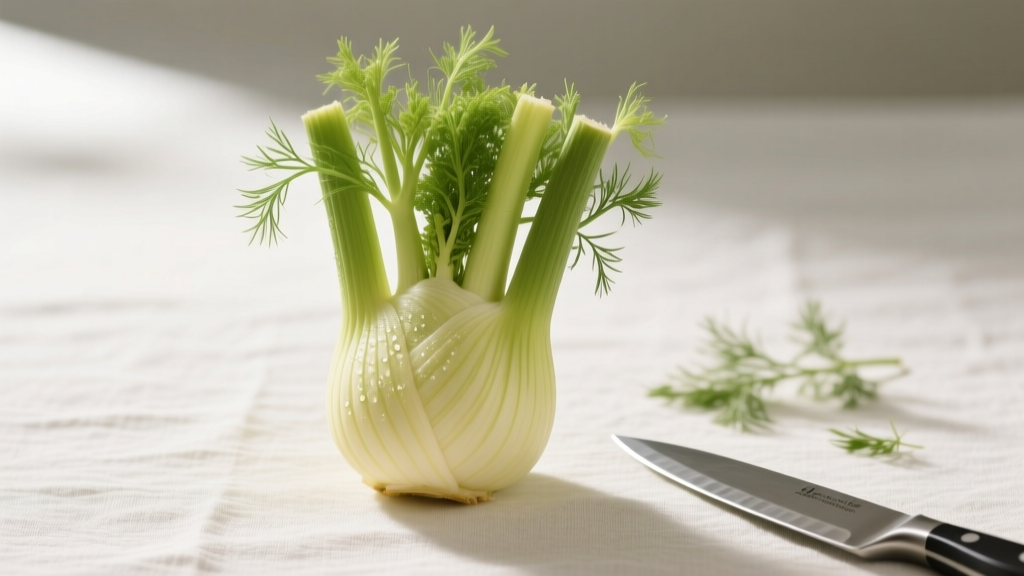 How to Prepare Fennel: Complete Step-by-Step Guide
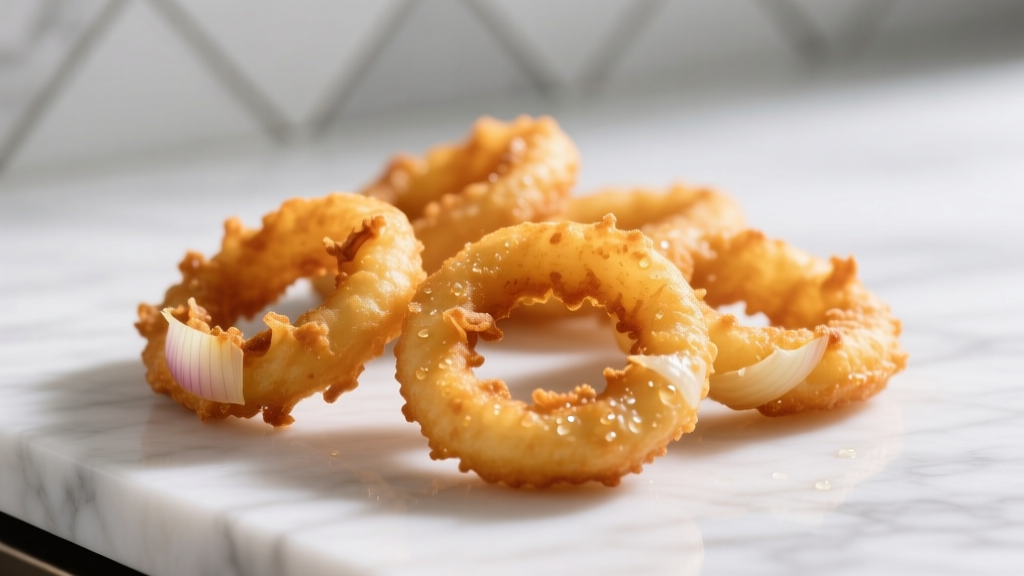 Crispy Onion Rings: Homemade Guide Without Fail
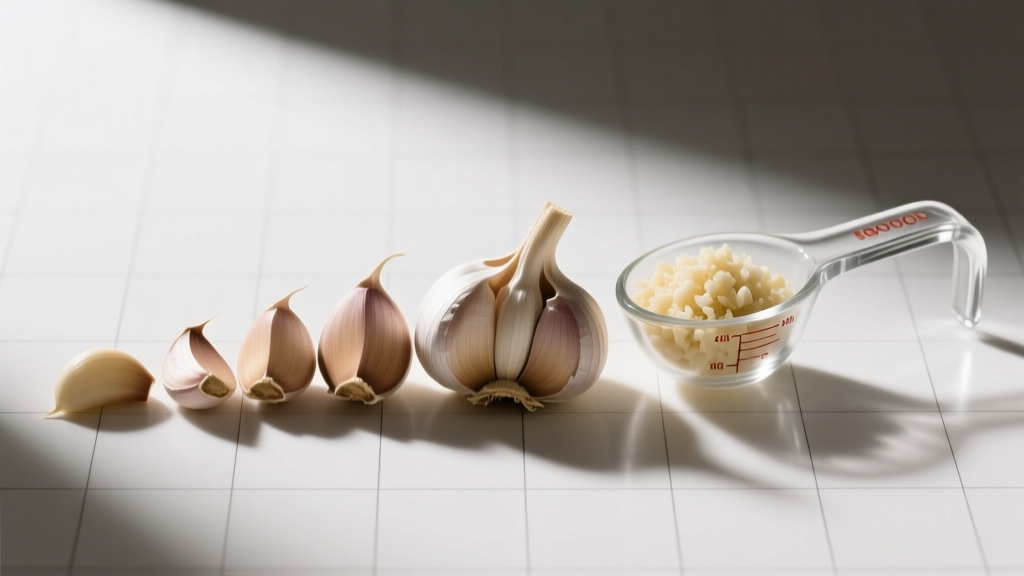 Garlic Cloves to Tablespoons: Practical Conversion Guide
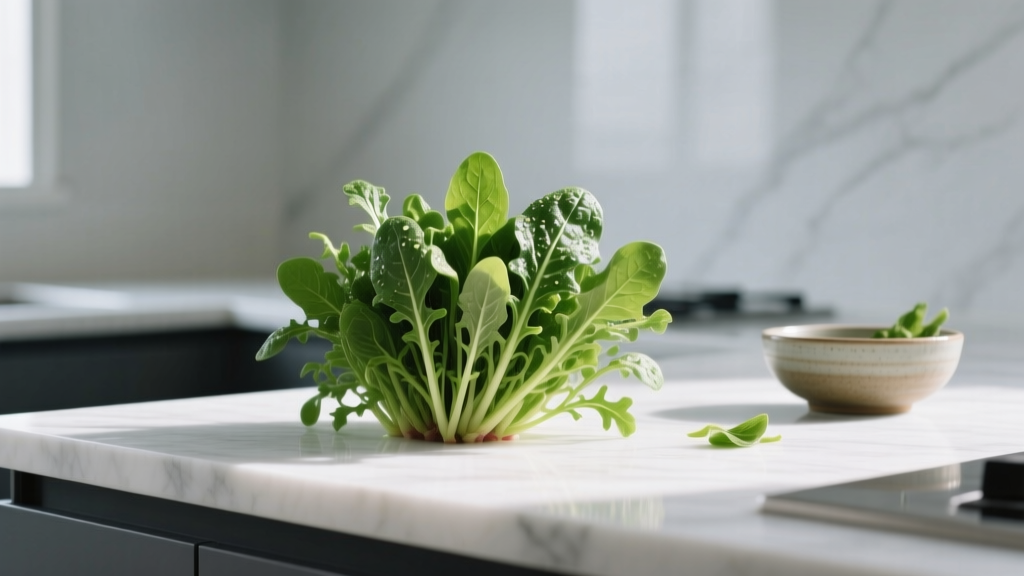 Tokyo Spinach Meaning: What It Really Is (Not Spinach!)