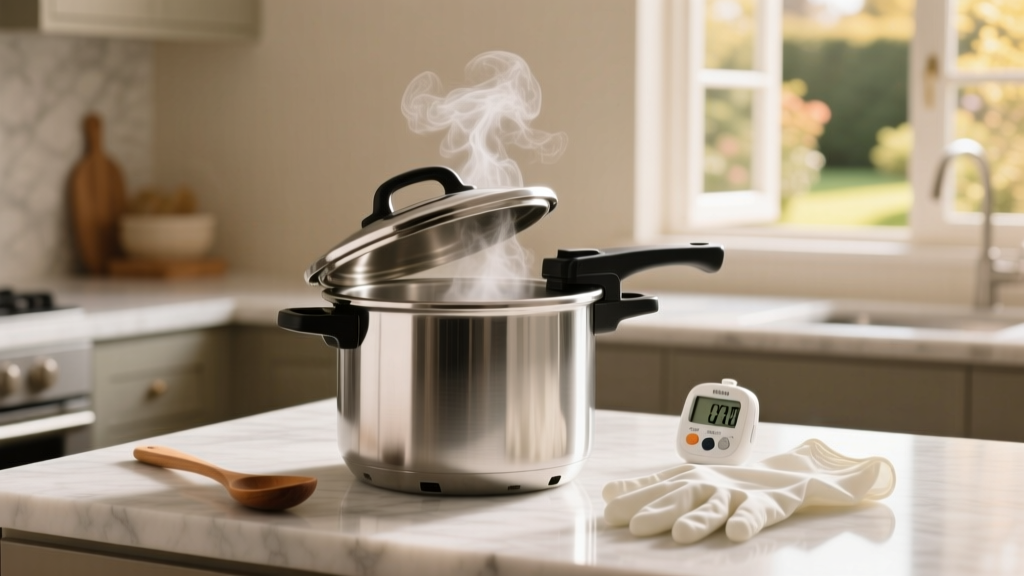
How to Use a Pressure Cooker: Safe Step-by-Step Guide
Look, I get it—pressure cookers can seem intimidating. After two decades of testing everything from stovetop models to Instant Pots in my kitchen, I've seen folks freeze up at the thought of steam explosions. Truth is, they're safer than boiling pasta if you follow basic steps. Let's ditch the fear and get practical.
Understanding Your Pressure Cooker Types
Before diving in, know your tool. Electric models (like Instant Pot) handle pressure automatically—great for beginners. Stovetop versions (like Presto) need manual heat control but offer more precision. Both work the same way: trap steam to raise boiling point, cooking food faster. The real difference? Your learning curve.
| Feature | Electric Pressure Cooker | Stovetop Pressure Cooker |
|---|---|---|
| Pressure Control | Automatic (no monitoring) | Manual (adjust heat) |
| Learning Curve | Easier (set-it-forget-it) | Steeper (watch heat levels) |
| Best For | Weeknight meals, beginners | Batch cooking, experienced users |
| Safety Valves | Multiple backup systems | Simpler mechanism |
Your Step-by-Step Cooking Walkthrough
Here's how I actually use mine on Tuesdays when I'm racing against the clock. First, never skip adding liquid—water, broth, even wine (minimum 1 cup). Without it, you'll trigger error codes or worse. Chop ingredients uniformly so they cook evenly; I toss root veggies in first since they take longest.
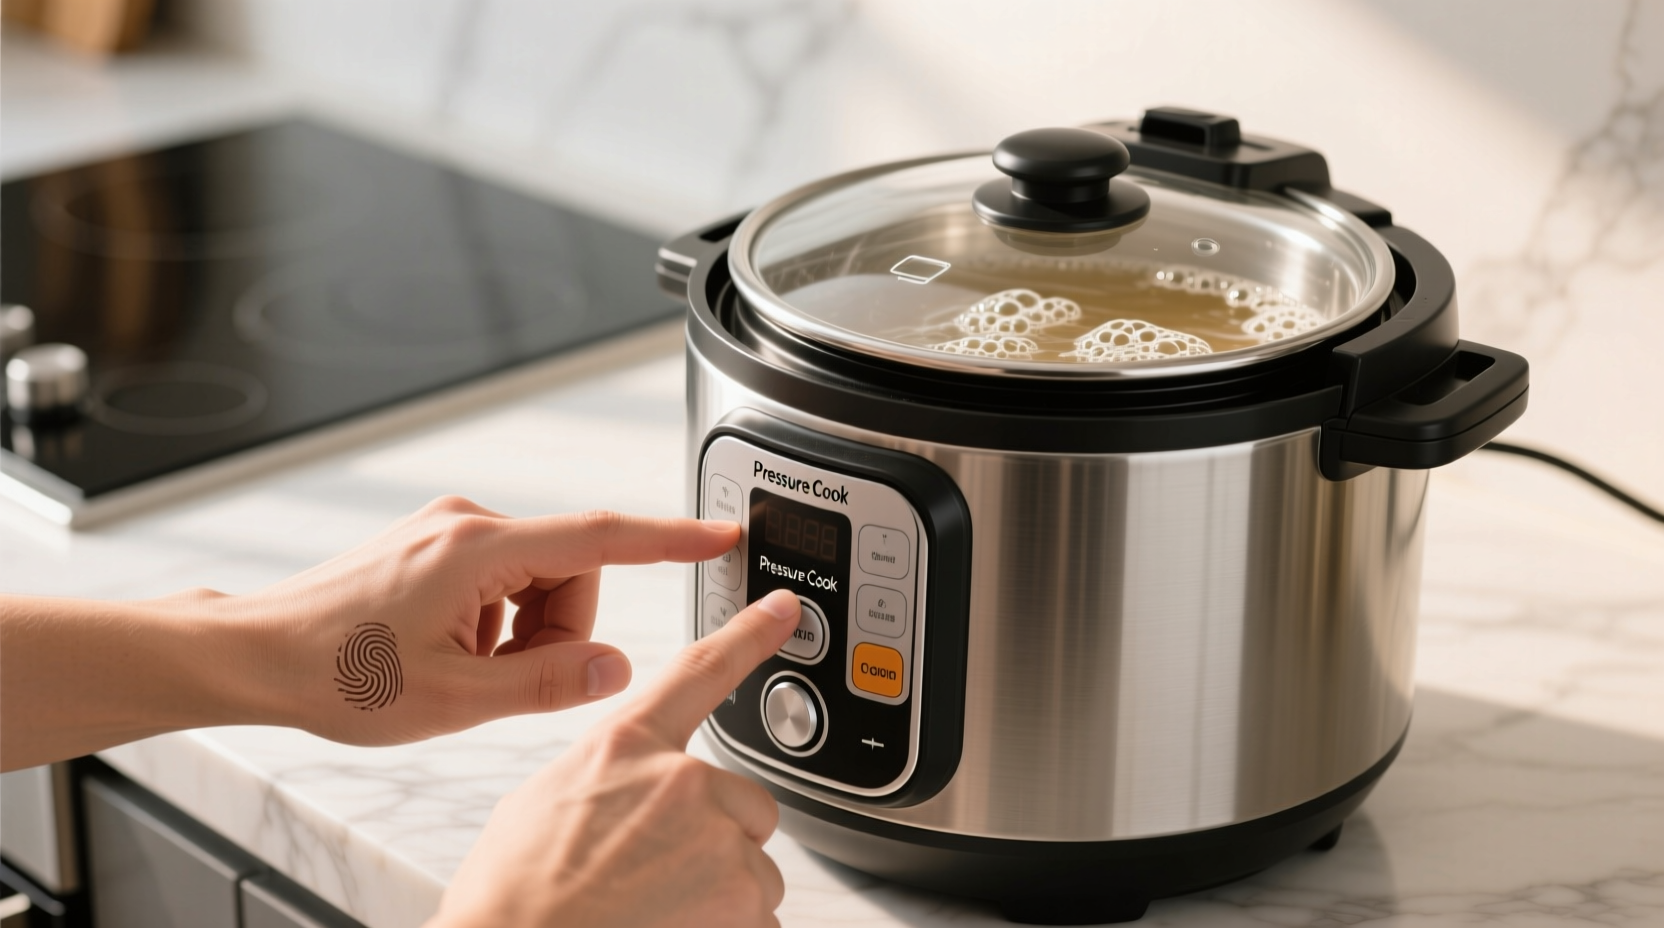
Now, set the valve to "Sealing" (not "Venting"—big mistake I've seen). Hit "Manual" or "Pressure Cook" and dial in time. For chicken thighs? 12 minutes. Beans? 25. The cooker beeps when pressurized—that's when you start the timer. After cooking, choose your release method:
- Natural release: Let it sit 10-20 mins. Ideal for soups or meats (prevents mushiness).
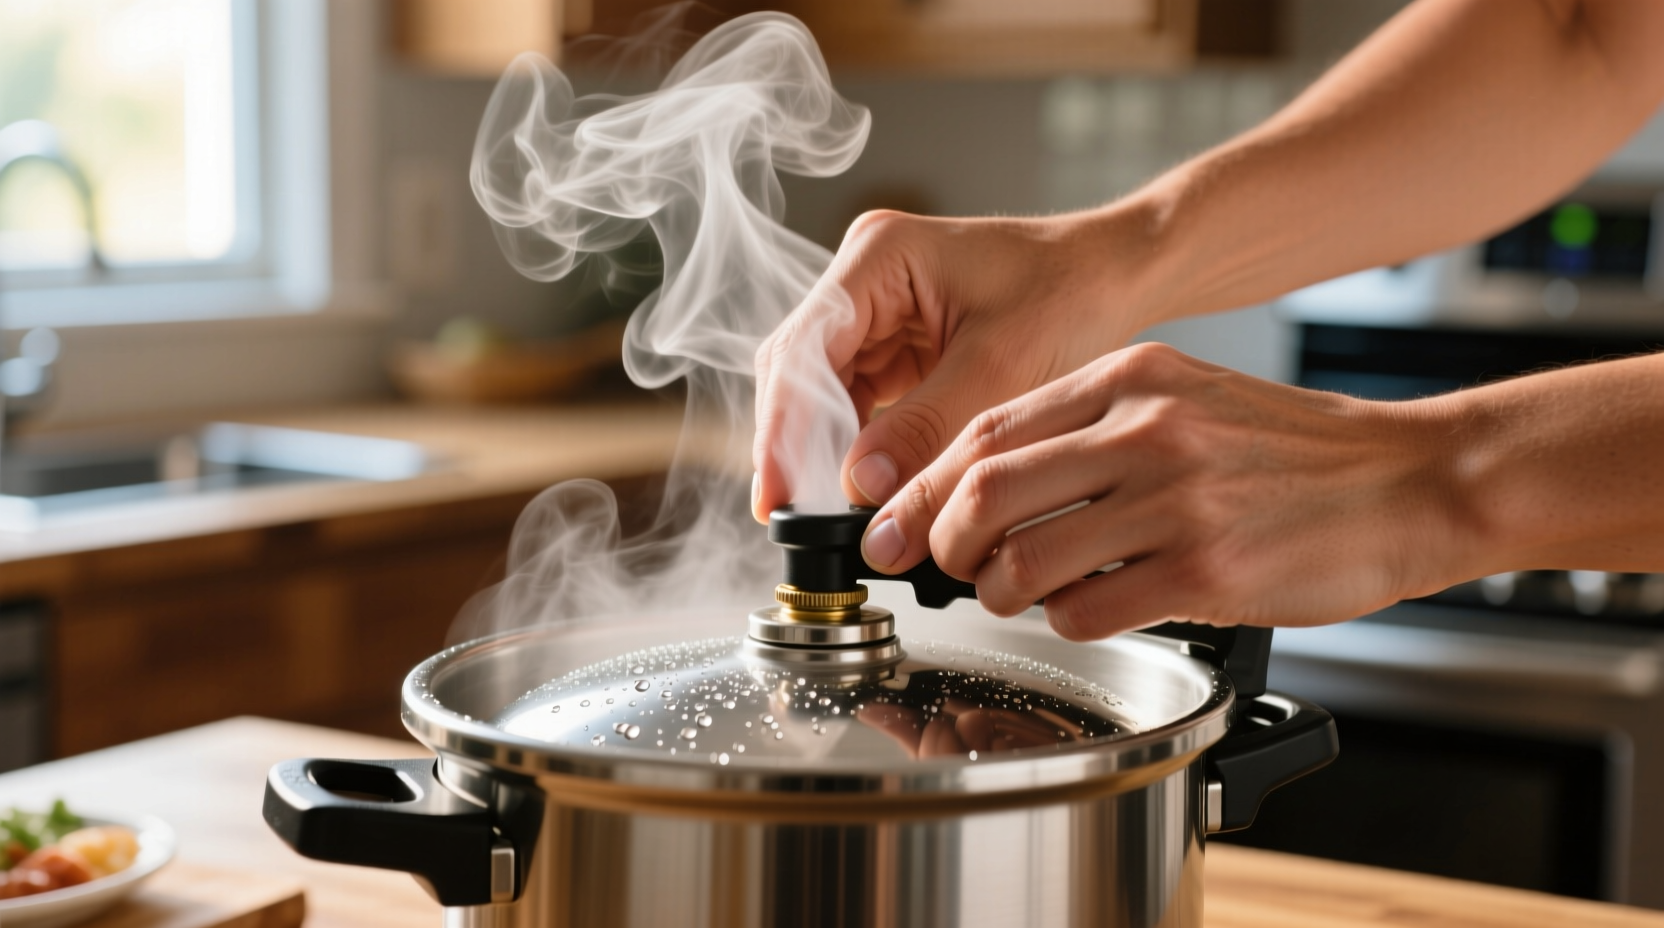
- Quick release: Carefully flip valve to "Venting". Use a long spoon to shield steam. Perfect for veggies.
When to Use (and Absolutely Avoid) Pressure Cooking
After testing 300+ recipes, here's my real-talk guide. Pressure cooking shines with tough cuts (brisket), dried beans, or stocks—it tenderizes in 1/3 the time. But avoid it for:
- Fried foods (oil + high pressure = fire risk)
- Delicate fish (turns rubbery)
- Thick sauces without liquid (burns easily)
Pro tip: Never fill beyond 2/3 full. I learned this the hard way with chili—overflowed everywhere. And for heaven's sake, check the rubber gasket monthly. A cracked seal causes slow pressurization.
Avoid These 3 Costly Mistakes
Mistake #1: Ignoring the "float valve". If it doesn't pop up, pressure isn't building—don't walk away. Mistake #2: Overfilling with dairy. Yogurt or cream curdles under pressure (add after cooking). Mistake #3: Rushing natural release for rice. It needs 15 mins off-heat or you get gummy mush. Been there, scraped that pot.

One last thing: Quality varies wildly. Skip dollar-store models with flimsy latches. Stick with brands like Fagor or Instant Pot—they meet NSF safety standards. And if your cooker hisses loudly during cooking? Turn it off immediately. That's not normal; it means the valve's blocked.
Everything You Need to Know
Yes, absolutely. Unlike slow cookers, pressure cookers cook fast—so timing is critical. Overcooked chicken shreds into mush, and beans turn to paste. Always follow tested times: for example, 8 minutes max for boneless chicken breasts. If unsure, start with 20% less time than recipes suggest.
For natural release, just walk away—it's foolproof. For quick release, stand back and use a long-handled spoon to nudge the valve into "Venting" position. Never put your face over the cooker; that steam jet reaches 250°F. I keep a wooden spoon nearby strictly for this.
Avoid fried items (oil expands dangerously), thick purees like refried beans (clog valves), and delicate greens like spinach (turns to sludge). Also skip recipes requiring precise browning—sear meat first in a pan, then pressure cook. Safety first, always.
White rice cooks in 3-4 minutes at high pressure with a 10-minute natural release. Brown rice needs 22 minutes plus 15-minute release. Ratio is key: 1 cup rice to 1¼ cups liquid. Mess this up, and you'll get porridge—not rice. I measure both precisely with the same cup.
Totally safe if you respect the basics. Start with foolproof recipes like hard-boiled eggs or soup. Never ignore the manual's liquid minimums—that's how accidents happen. Modern electric models have 10+ safety locks; I've used mine with my teens cooking. Just read the instructions once.
More Articles
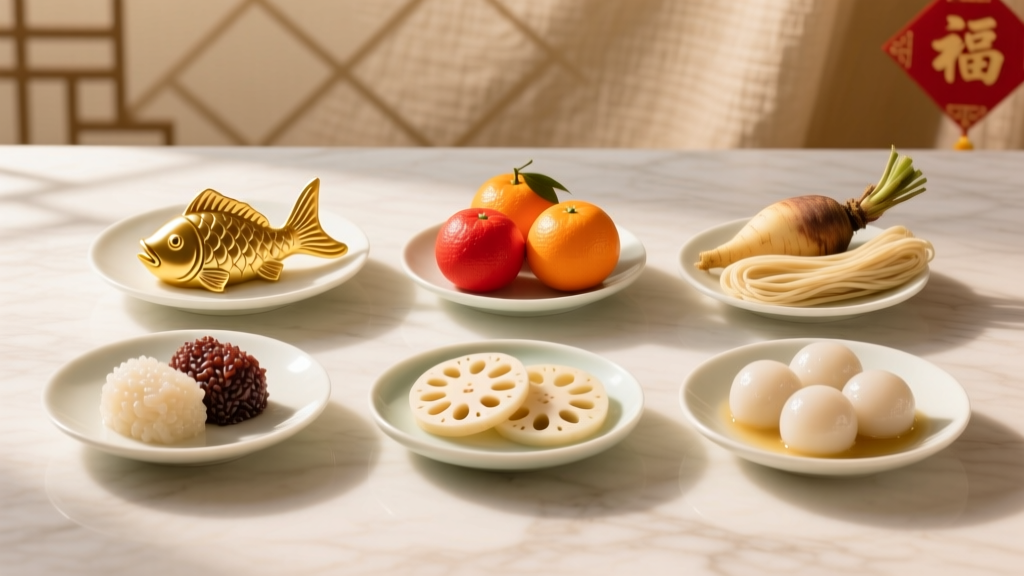 7 Lucky New Year's Food Traditions for Prosperity
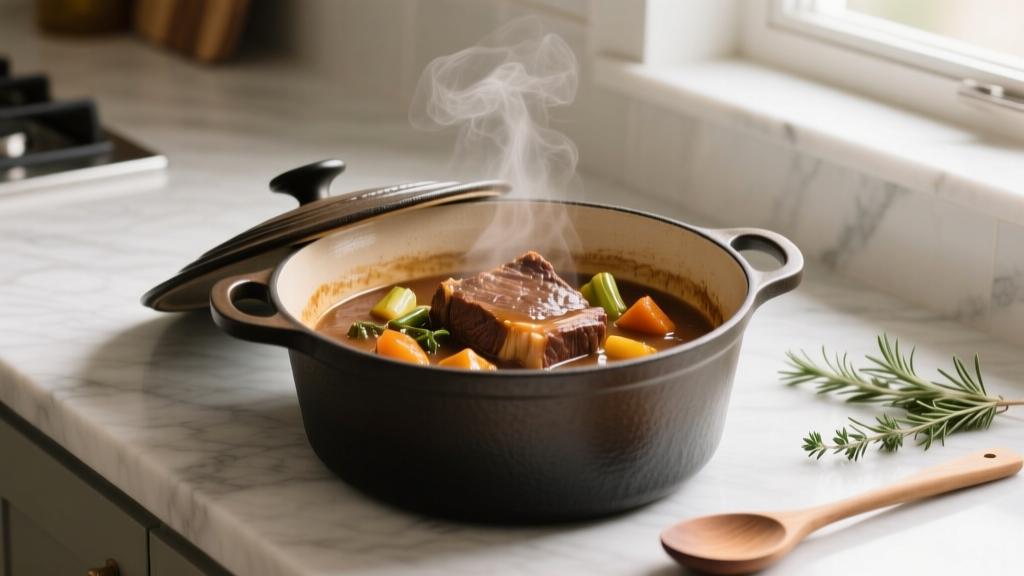 Oven Pot Roast Guide: Foolproof Steps for Tender Results
 Cream Cheese Potato Soup Crock Pot: Foolproof Recipe Guide
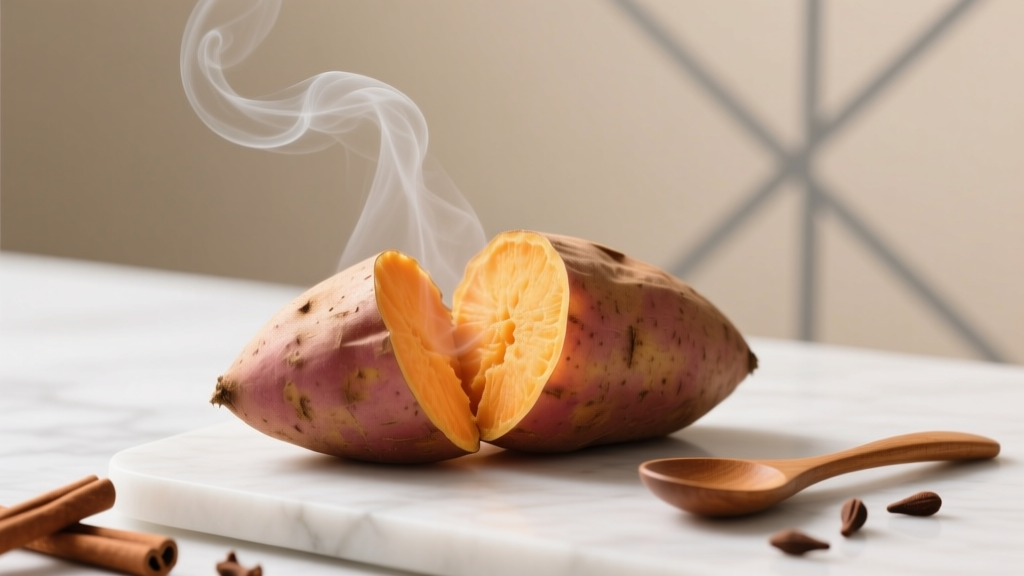 Boiled Sweet Potato: Steps, Benefits & When to Avoid
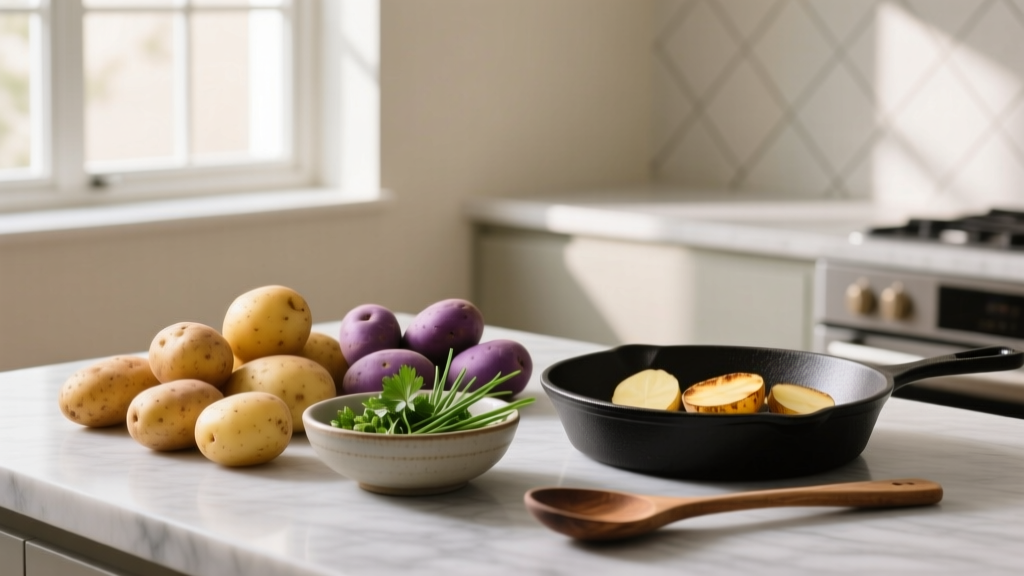 Potato Recipes: Simple Dishes for Any Meal
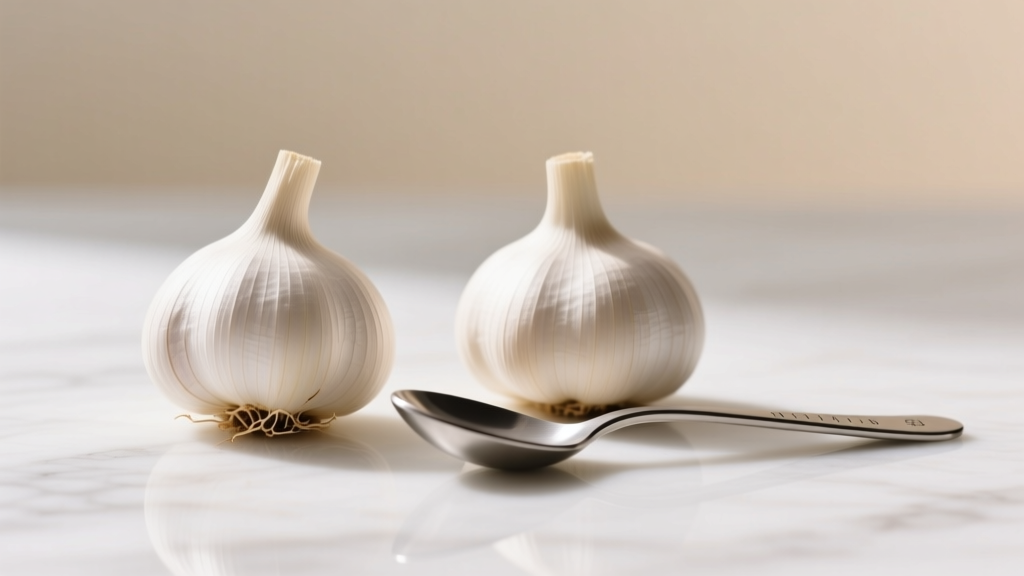 2 Cloves of Garlic to Tbsp: When Precision Matters (And When It Doesn't)
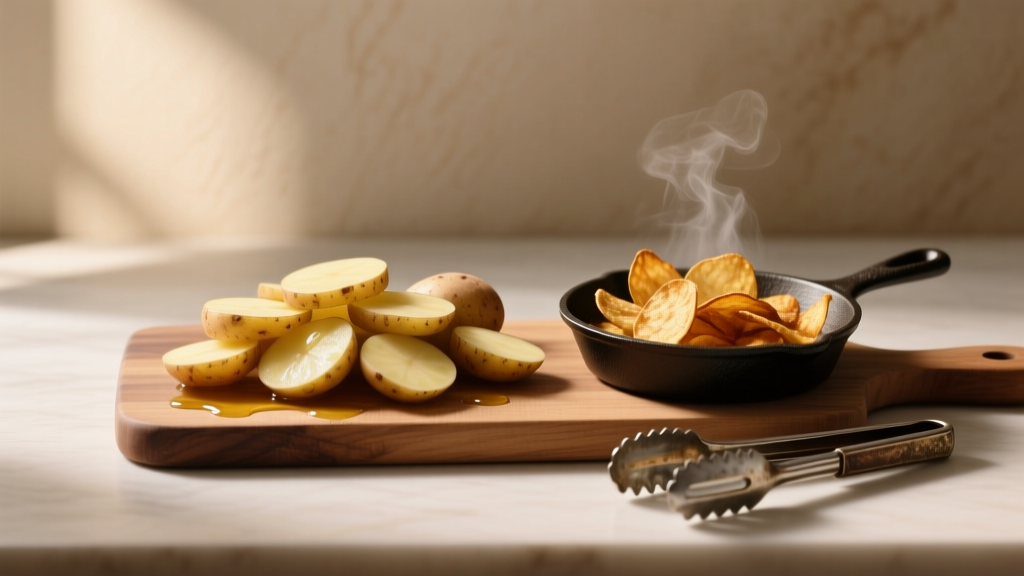 Making Potato Chips: Your Step-by-Step Home Guide
 Does Ginger Beer Expire? Shelf Life Explained
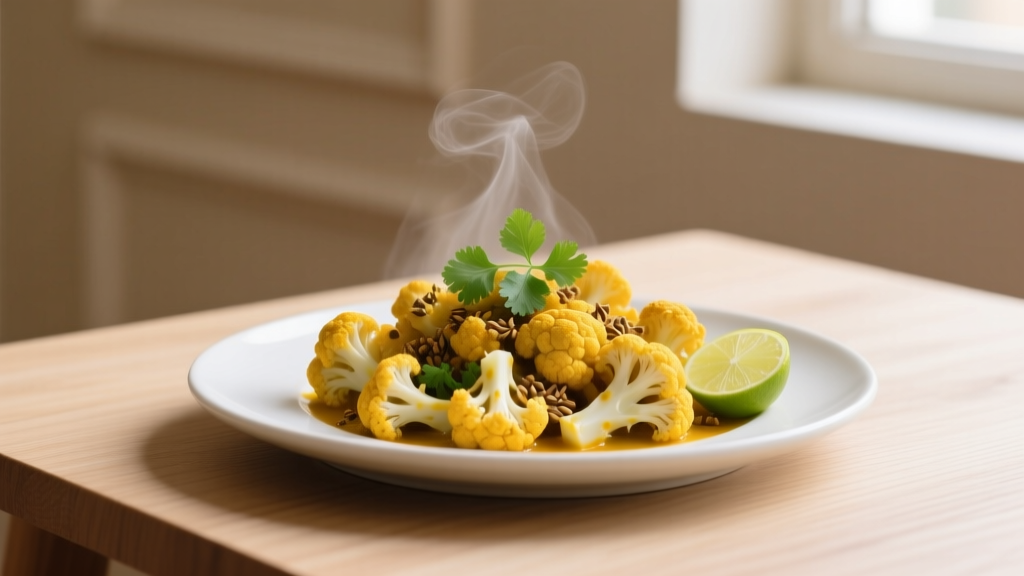 Indian Cauliflower Recipes: Simple Dishes That Actually Work
 Perfect Garlic Bread: Simple Recipe & Pro Tips