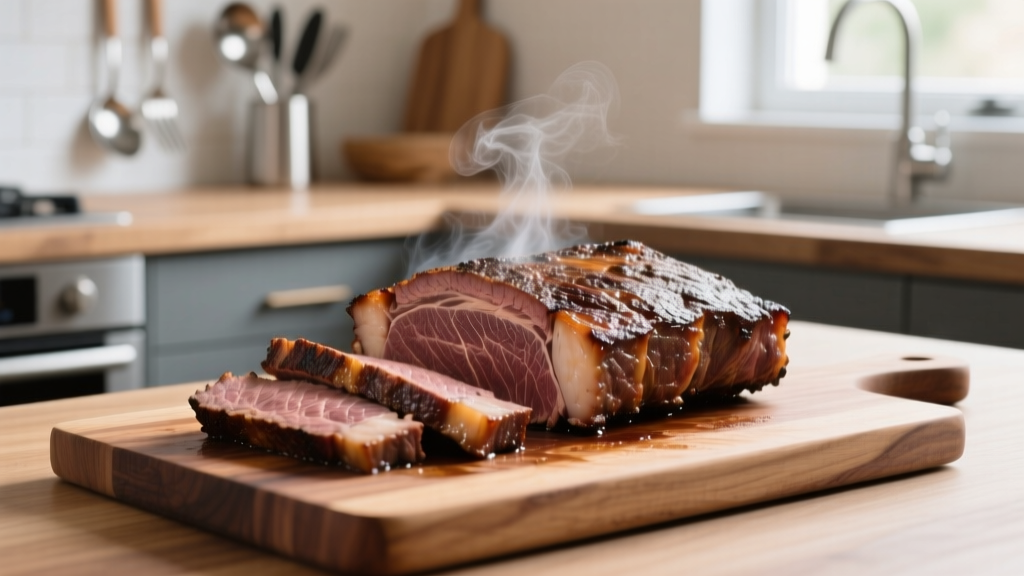
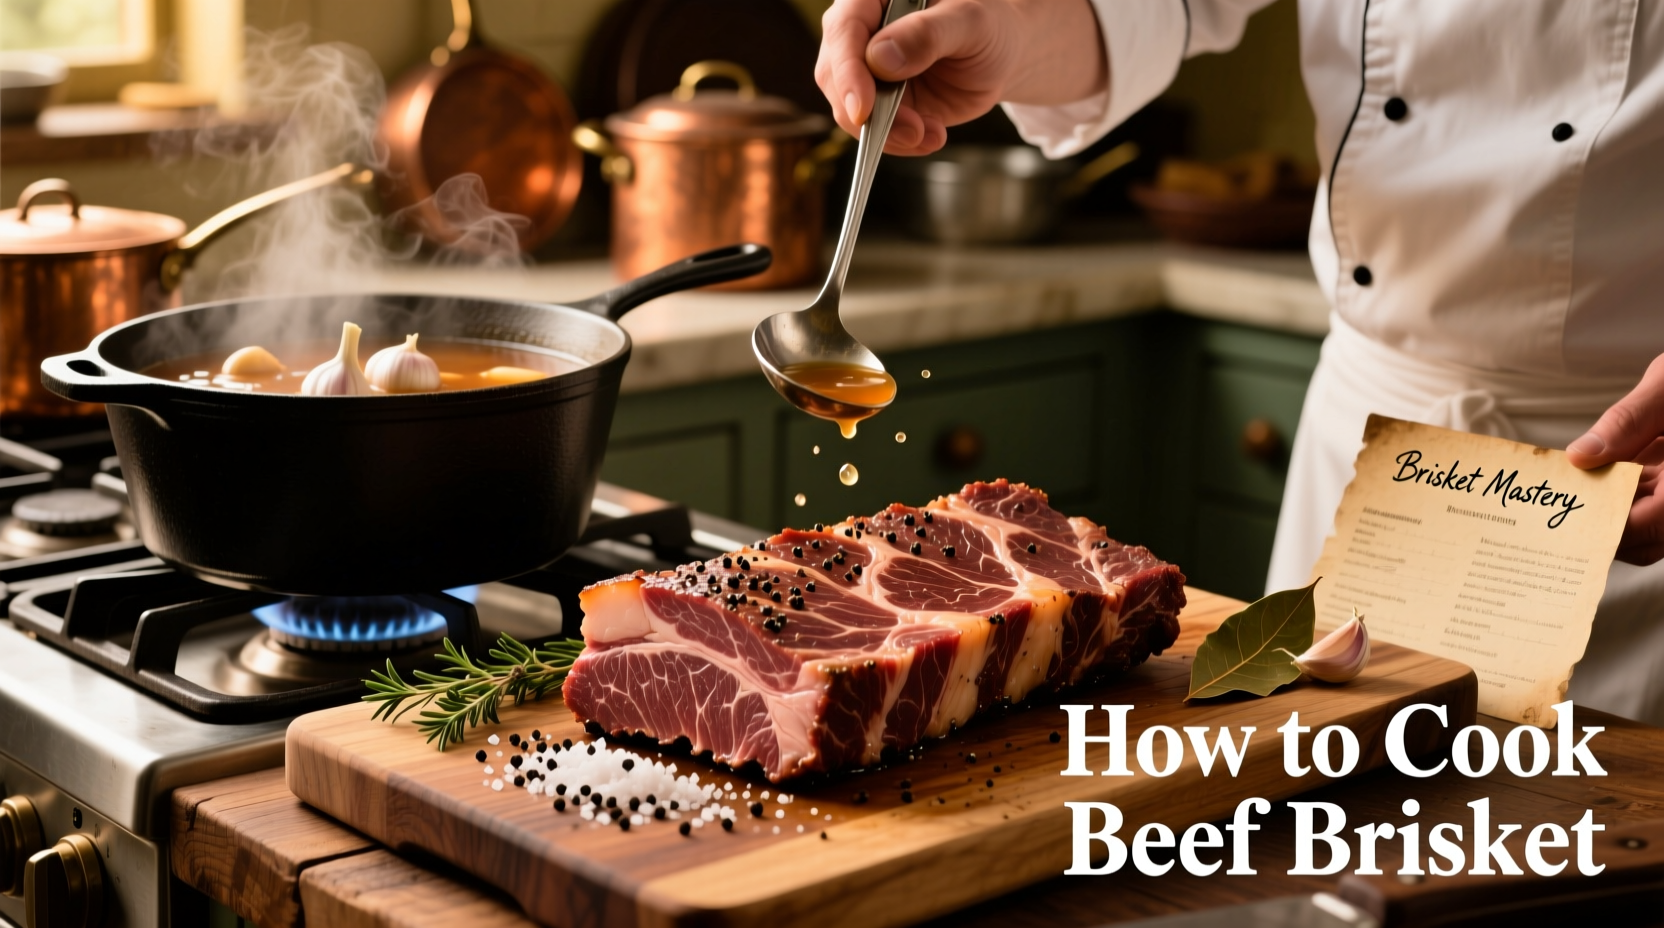
How to Cook Beef Brisket: Low and Slow Guide for Tender Results
Why Your Brisket Fails (And How to Fix It)
Most folks treat brisket like a steak—high heat, quick sear, done. Big mistake. That dense muscle fiber needs time. Think of collagen like steel cables; blast it hot, and they seize up tighter. Go low and slow? Those cables soften into unctuous gelatin. I learned this the hard way after 20 years testing methods. Pro tip: Skip the "probe tender" test—when your thermometer slides in like warm butter, you're golden.
Your Step-by-Step Brisket Blueprint
Follow this sequence religiously. No shortcuts. Seriously.
- Dry brine overnight: Rub 1 tbsp coarse salt per pound on raw brisket. Fridge uncovered 12 hours. This seasons deep and dries the surface for better bark.
- Smoke or roast low: Set oven/smoker to 225°F. Place brisket fat-side up. Target 10-12 hours until 165°F internal.
- Wrap at 165°F: Tightly seal in butcher paper (not foil—it steams meat). Returns to oven until 203°F.
- Rest like your dinner depends on it: Tent loosely with foil, then towels in a cooler 90+ minutes. This redistributes juices—skip it, and you'll lose half the moisture.
Which Cooking Method Wins? (Spoiler: It Depends)
Not all briskets are born equal. Your kitchen setup and timeline dictate the best approach. Here's the real talk:
| Method | Best For | Avoid If... | Time Needed |
|---|---|---|---|
| Smoker | Authentic bark, deep smoke flavor | You're short on 12+ hours or live in an apartment | 10-14 hours |
| Oven Roasting | Consistent temps, no smoke equipment | You need hands-off cooking (requires temp checks) | 9-12 hours |
| Slow Cooker | Weeknight dinners, zero monitoring | You want crispy bark (it'll be steamed) | 8-10 hours |
Look, I get it—smokers make Instagram-worthy brisket. But if you're juggling kids and work? Oven or slow cooker saves sanity. Just don't expect competition-level bark from a Crock-Pot. Pro move: For slow cookers, skip wrapping and add 1 cup beef broth to prevent dryness.

Picking Brisket That Won't Betray You
Starting with bad meat dooms you from step one. Here's how to spot winners at the counter:
- Grade matters: Choose USDA Prime if possible—it's got more marbling than Choice. Select grade? Only if you're desperate.
- Feel the flex: Bend the flat gently. It should yield like a wallet, not crack like cardboard. Stiffness means dryness ahead.
- Check the deckle: That thick fat cap? Should be creamy white, not yellowed. Yellow = old meat, guaranteed toughness.
Honestly, most grocery store briskets are leaner than pitmaster standards. If yours looks like a postage stamp, add extra fat—literally. Tuck bacon slices under the fat cap before cooking.
Three Mistakes That Wreck Brisket (And Fixes)
- Slicing too soon: Cutting before 90-minute rest = juice tsunami on your cutting board. Wait, even if guests are hungry. Set a timer.
- Over-trimming fat: That 1/4" fat cap isn't waste—it bastes the meat. Trim only hard chunks, not the whole layer.
- Guessing doneness: Your eyes lie. Invest $20 in a leave-in thermometer. Pull at 203°F, not some arbitrary "hours".
Everything You Need to Know
Rest brisket covered for at least 90 minutes—ideally 2 hours. This lets juices redistribute; cutting earlier causes massive moisture loss. Pro tip: Wrap it in towels and stash in a cooler—it stays warm without overcooking.
Absolutely. Your oven works great at 225°F—just add wood chips in a foil pouch for smoke flavor. Slow cookers also deliver tender results, though bark won't crisp up. Skip the smoker if you're time-crunched; low oven heat beats rushed smoking every time.
Dryness usually means undercooked collagen or wrong cut. If internal temp stayed below 200°F, collagen didn't fully melt. Also, the "point" (fattier end) stays juicier than the "flat"—slice the flat thinner. Next time, wrap earlier at 160°F.
Store slices in broth or au jus in airtight containers. Fridge for 4 days or freeze 3 months. Reheat gently in simmering liquid—never microwave, which turns it rubbery. Pro move: Freeze in portioned bags for quick chili additions.
Butcher paper wins for bark retention—it breathes slightly, so the crust stays crisp. Foil traps steam, making bark soggy. If using foil, unwrap for the last hour to revive texture. I've tested both: paper gives that authentic Texas-style snap.
More Articles
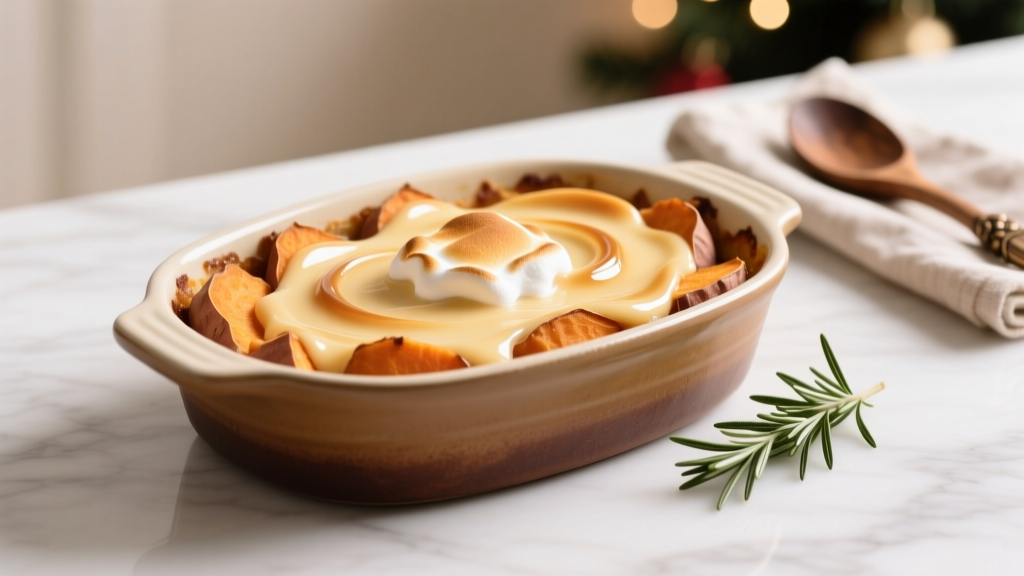 Sweet Potato Casserole with Condensed Milk: Creamy Holiday Classic
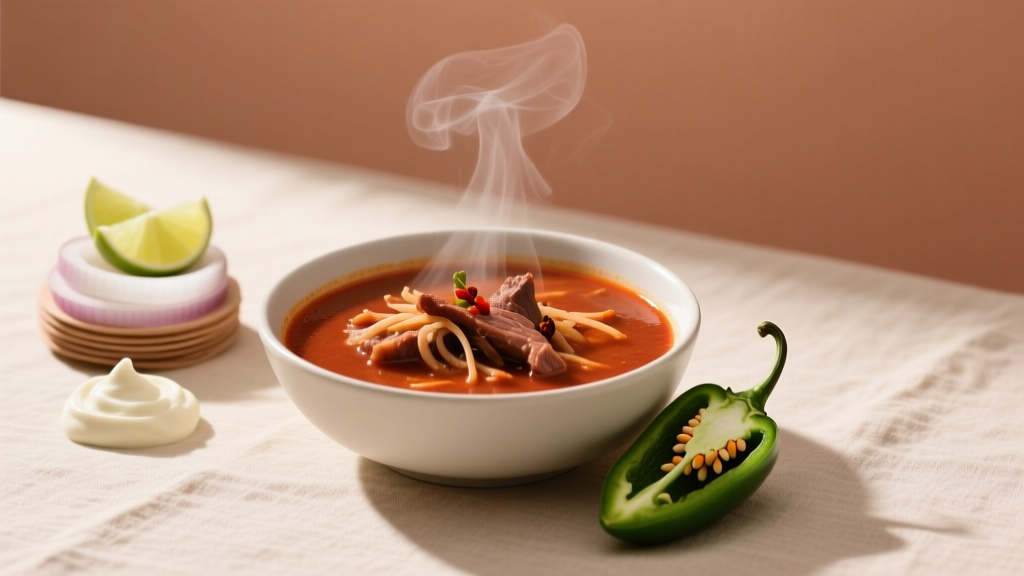 How to Make Birria Less Spicy: 5 Effective Methods
 Cheese Potato Casserole Recipe: Creamy Inside Crispy Top
 Costco Raw Honey: Authenticity Guide & Usage Tips
 Potluck Potato Salad: No-Soggy Recipe Guide
 Crispy Air Fryer Potato Chips: Simple Homemade Recipe
 How to Tell If Cauliflower Is Bad: Freshness Signs & Storage Tips
 Authentic Spaghetti with Tomato Sauce: 20-Minute Recipe Guide
 How to Make Garlic Sauce: Simple 5-Ingredient Recipe
 Essential M-Seasonings: Flavor Guide for Every Kitchen