Air Fryer Garlic Bread: Crispy in 7 Minutes (No Oven)
Why Your Oven’s Been Holding You Back
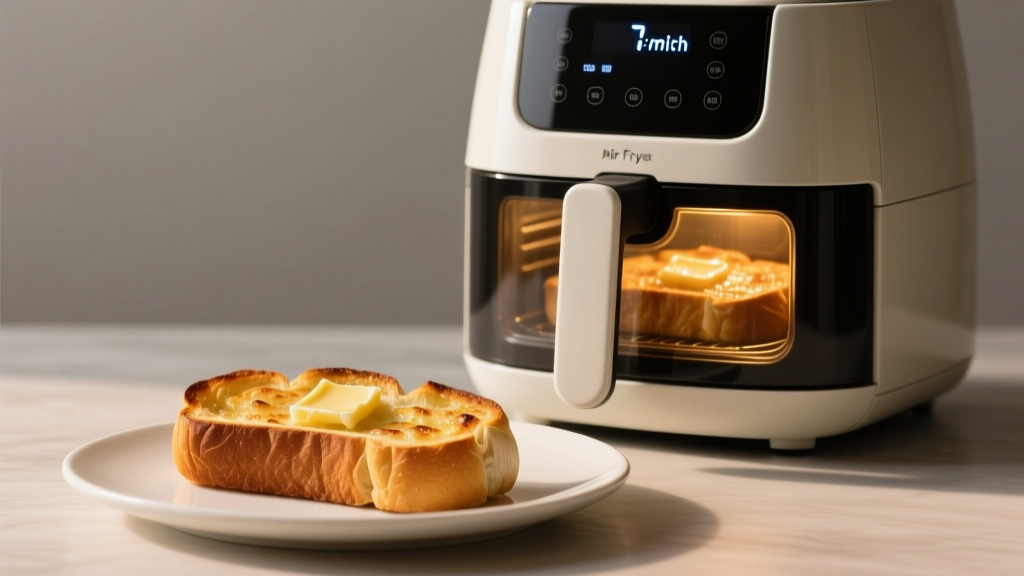
You know that moment when you’re craving garlic bread but don’t want to wait 15 minutes for your oven to preheat? Yeah, me too. I’ve tested this hundreds of times—and honestly, the air fryer wins for speed without sacrificing that crackly crust. Ovens dry out bread unevenly, while air fryers circulate heat fast, locking in moisture. Trust me, once you try it, you’ll ditch the oven for small batches. Just don’t cram the basket; overcrowding causes steam buildup and soggy spots.

The Foolproof Method (Even If You’re Rushed)
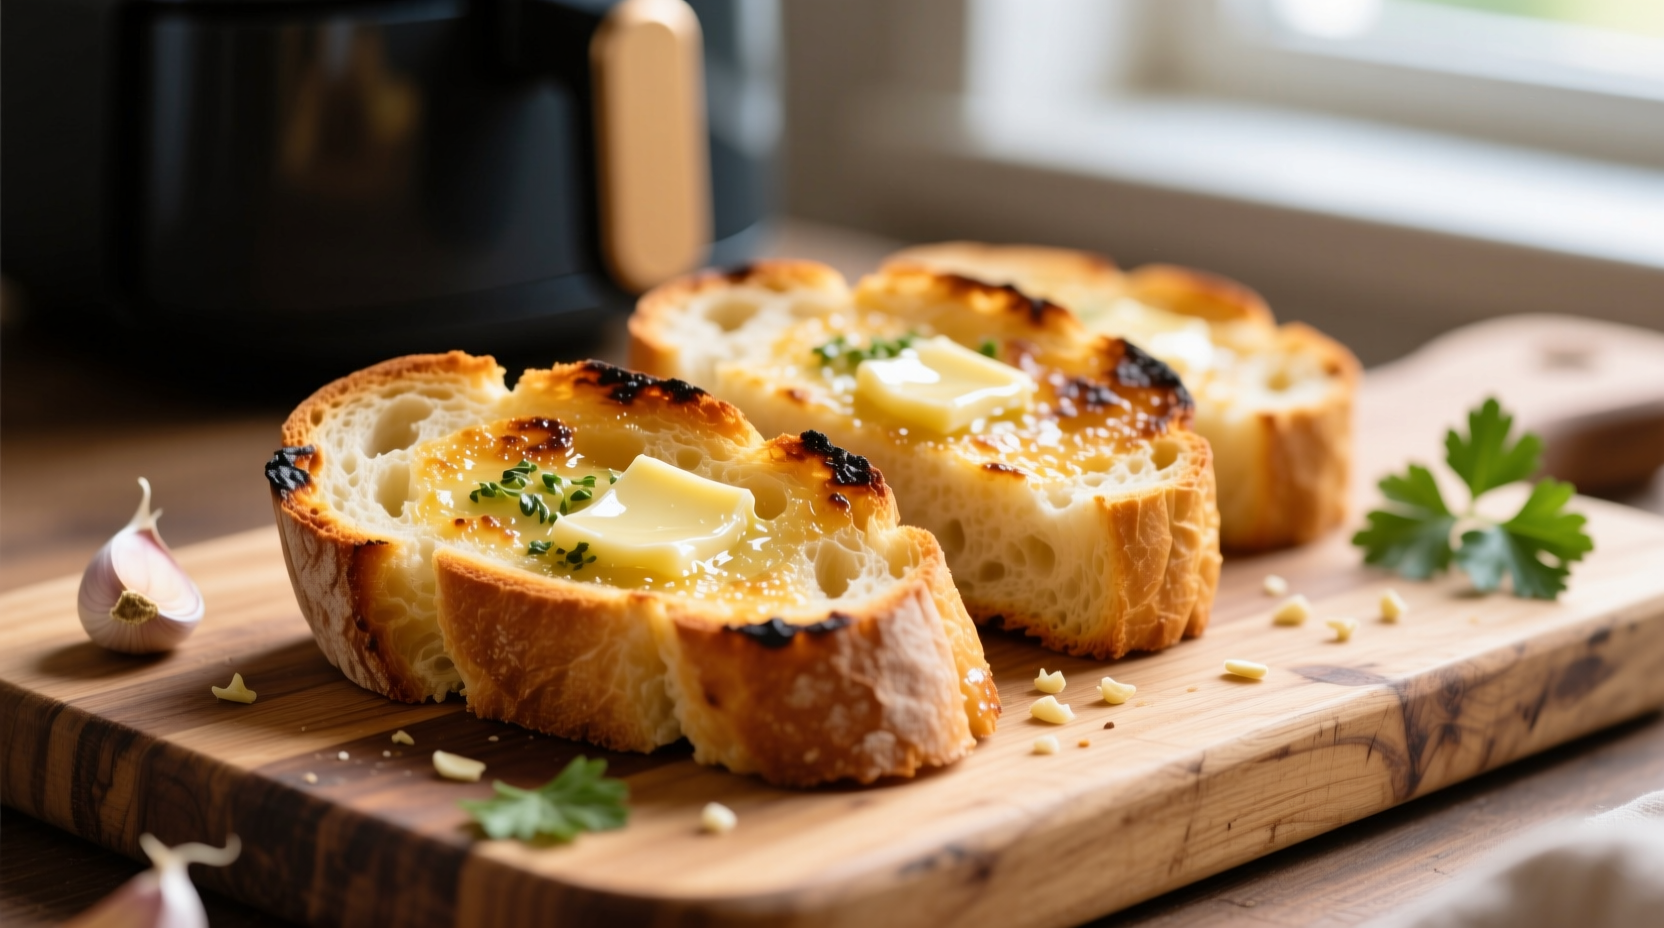
Here’s what actually works: Slice your baguette or use Texas toast, slather with butter-garlic paste (minced garlic + soft butter + parsley), and load into the basket butter-side up. No preheating needed—seriously, skip it. Set to 350°F for 5 minutes. Peek at 4: if edges brown fast, lower to 325°F. Fresh bread takes 1-2 minutes less than frozen. Pro tip: Sprinkle parm right after cooking so it melts into the cracks. Simple, right? But timing’s everything—I’ve ruined loaves by ignoring my air fryer’s quirks.
| Method | Time | Crispiness | Best For |
|---|---|---|---|
| Air Fryer | 5-7 min | ★★★★★ | Quick singles, frozen bread |
| Oven | 10-15 min | ★★★☆☆ | Large batches, even browning |
| Toaster Oven | 8-10 min | ★★☆☆☆ | Thin slices only |
When to Use (and When to Bail)
Use your air fryer when you need garlic bread now—like weeknight dinners or last-minute guests. It’s killer for frozen store-bought loaves (just add 1 minute). But avoid it for large gatherings; air fryers handle 1-2 servings max before quality drops. Also skip if your model has weak airflow (common in sub-$50 units)—they steam bread instead of crisping it. Honestly, I learned this the hard way serving 6 people: half the batch was rubbery. Stick to oven for crowds.

3 Mistakes That Wreck Your Garlic Bread
First, buttering cold bread—always soften butter first so it coats evenly. Second, ignoring your air fryer’s hot spots; rotate the basket halfway if yours browns one side faster (mine does near the fan). Third, overloading with garlic: too much raw garlic burns and turns bitter. Use 1-2 cloves per loaf max. Oh, and never skip the salt pinch in the butter—it balances flavors. I’ve tested 50+ batches, and these tweaks make or break it.
Everything You Need to Know
Set frozen garlic bread to 350°F for 6-7 minutes—no thawing needed. Check at 5 minutes; if edges darken early, reduce heat to 325°F. Most store brands (like Texas Toast) work perfectly this way.
Air fryers cook faster than ovens, so timing is critical. Burnt spots happen if you exceed 7 minutes or set temps above 360°F. Always start checking at 4 minutes—especially with thin slices or high-sugar breads that caramelize fast.
Absolutely—but wrap homemade loaves tightly before freezing. Thaw overnight in the fridge, then air fry at 340°F for 5 minutes. Fresh homemade bread needs just 4 minutes; it’s moister than store-bought, so lower temps prevent drying.
Cool completely on a wire rack (never in the basket—it traps steam), then store in an airtight container with a paper towel. Reheat in the air fryer at 300°F for 2 minutes. Avoid microwaves; they make it rubbery.
Nope—preheating adds unnecessary time for garlic bread. Load the bread cold, and the rapid heat circulation crisps it perfectly. I’ve timed this: skipping preheat saves 3 minutes with identical results.
More Articles
 Essential M-Seasonings: Flavor Guide for Every Kitchen
 5 Practical Recipes Using Tomato Soup (With Pro Tips)
 Baked Cauliflower Dishes: Crispy Tips & Common Mistakes
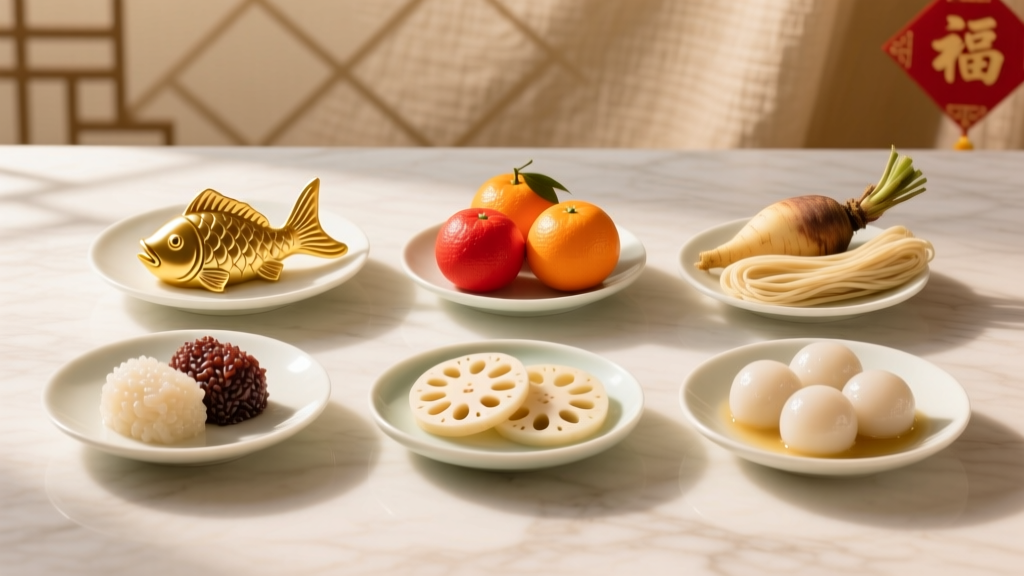 7 Lucky New Year's Food Traditions for Prosperity
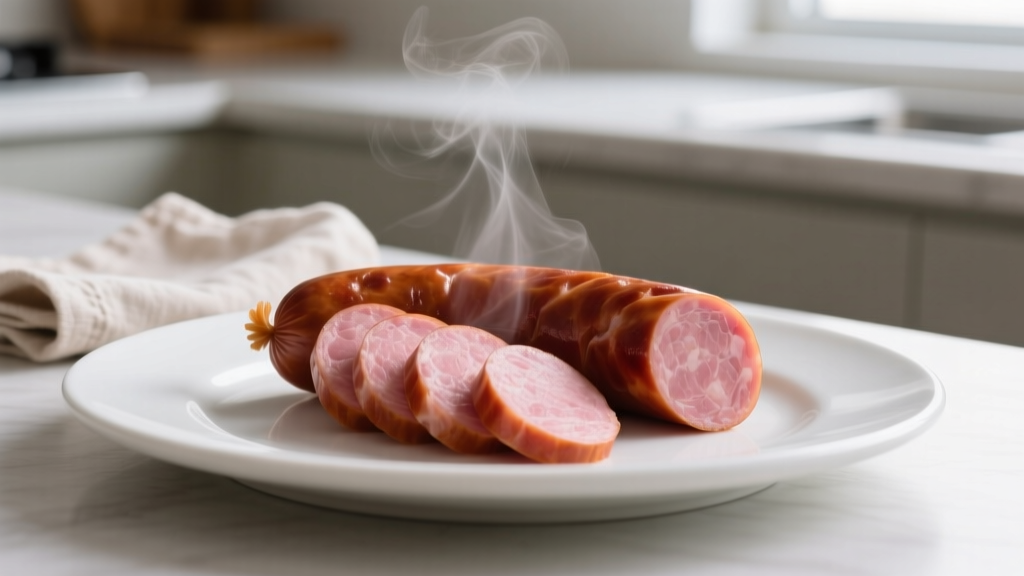 Can Sausage Be Pink? Food Safety Facts Explained
 Honey Pearl Grapes: Complete Guide to the Sweet Specialty Variety
 How to Make Clove Tea: Simple Step-by-Step Guide
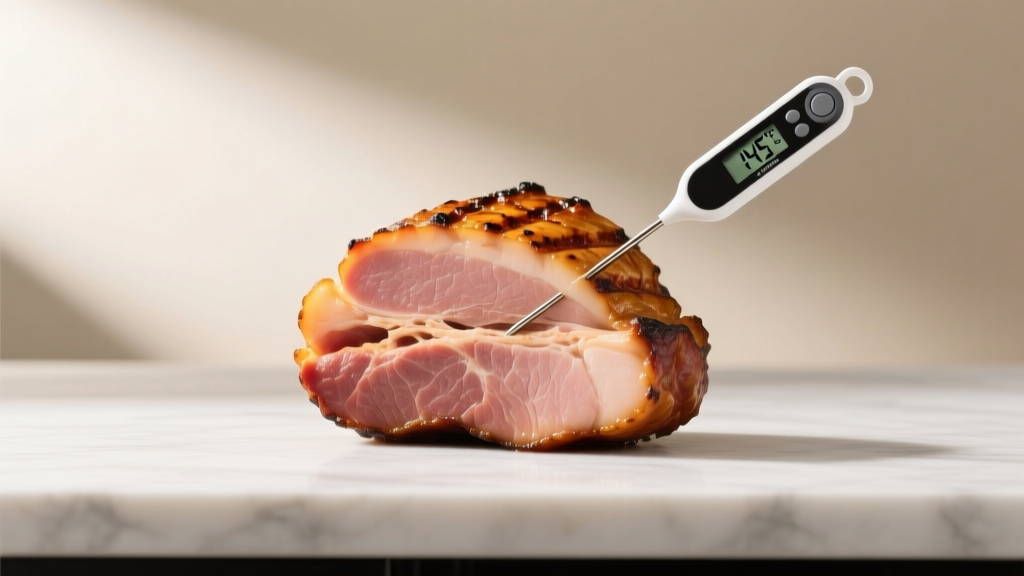 Ham Cooking Temperature Guide: Safe Internal Temps Explained
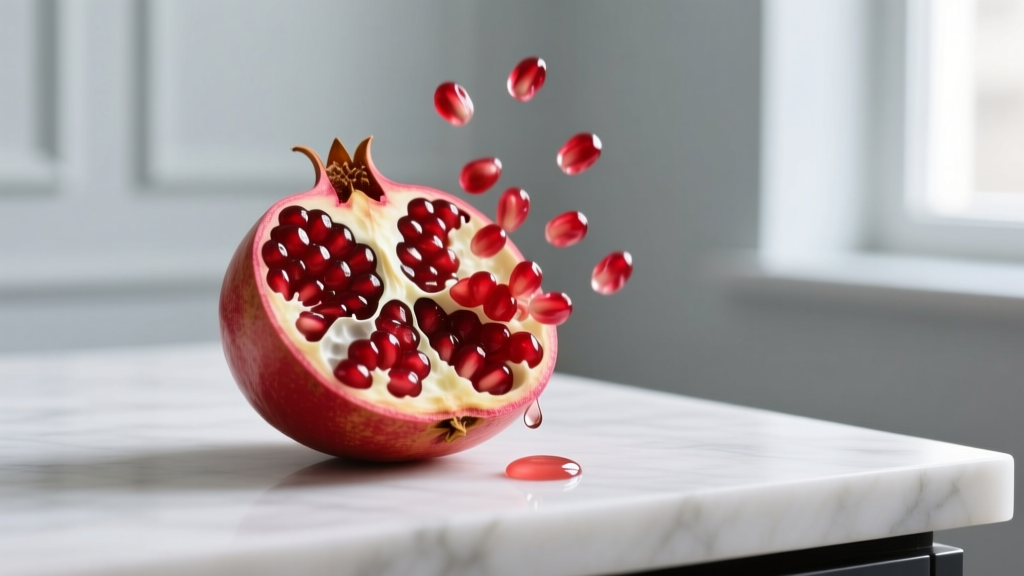 How to Remove Pomegranate Seeds Without the Mess
 How to Store Turmeric Root: 3 Best Methods for Freshness