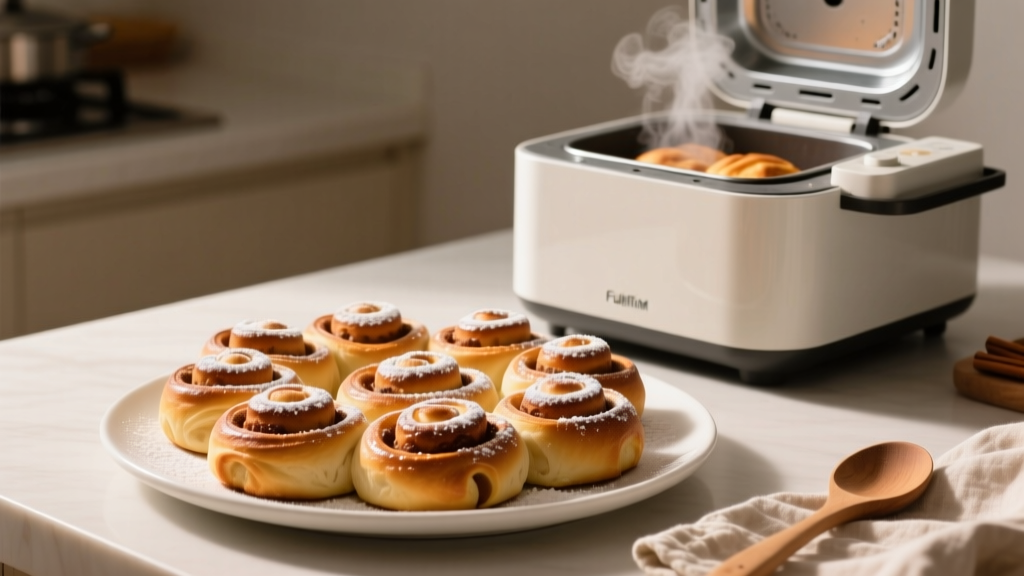
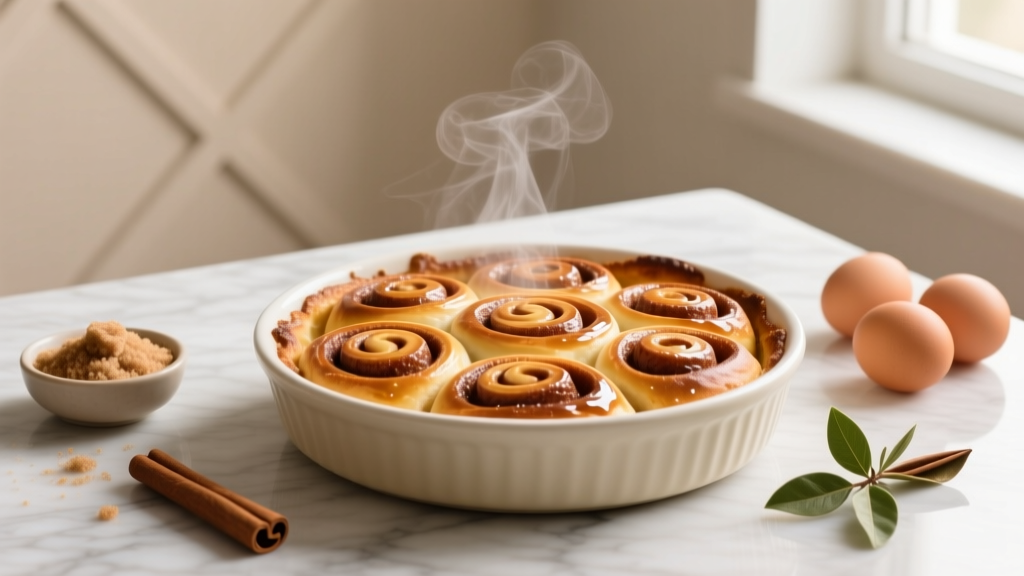
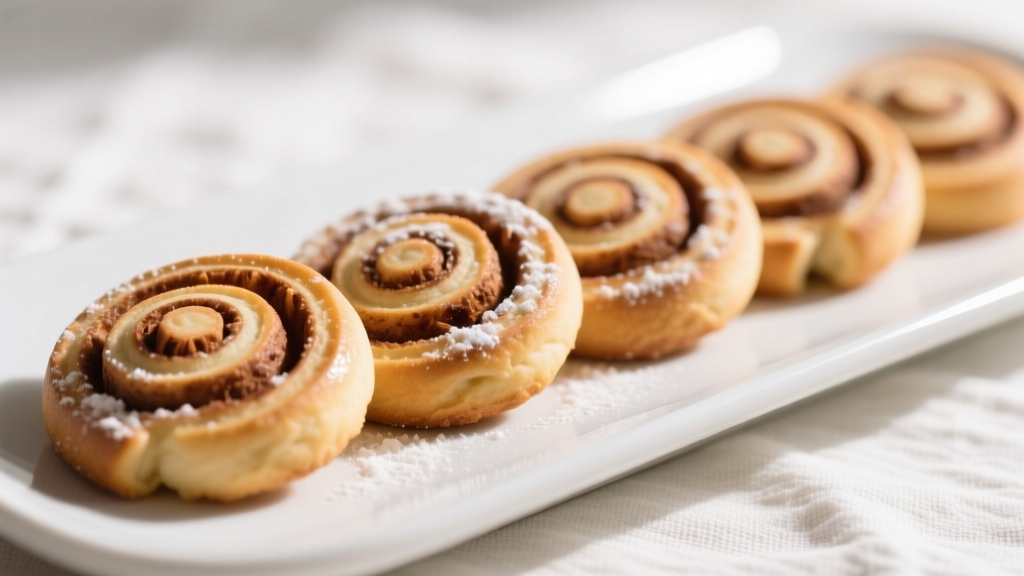
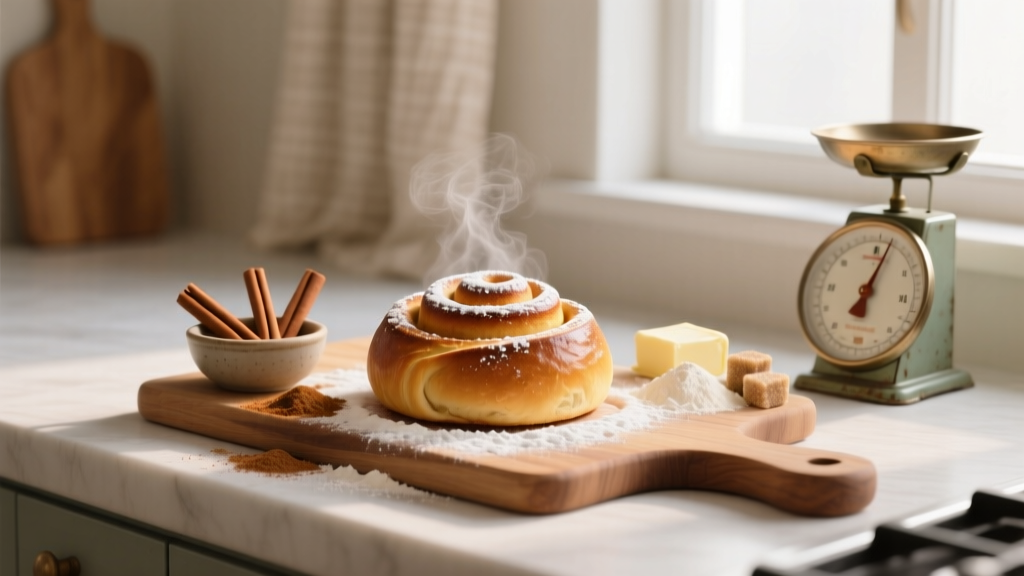
Bread Maker Cinnamon Buns: Foolproof Recipe & Pro Tips
Why Hand-Kneading Feels Like a Chore (And Why It Shouldn't Be)
Look, I get it. You've probably tried making cinnamon buns from scratch only to end up with tough dough or uneven swirls. Honestly, after testing 12+ recipes over the years, I've seen so many folks quit because kneading yeast dough is brutal. It's time-consuming, inconsistent, and let's be real—most of us just want warm, gooey buns without the arm workout. But here's the thing: your bread machine isn't just for loaves. It's a legit game-changer for sticky, temperamental doughs like this. No magic, just smart engineering doing the heavy lifting so you don't have to.

How the Bread Machine Actually Saves Your Dough (Literally)
You know that "petulant teenager" vibe dough gets when it's stressed? Yeah, the bread machine avoids that entirely. While you're sipping coffee, it maintains perfect temperature and humidity during the 90-minute DOUGH cycle. This isn't some gimmick—it's why recipes like Thriving Home Blog's consistently yield fluffy results. The machine mimics ideal proofing conditions you'd struggle to replicate manually, especially in dry climates. And honestly? It's a lifesaver for beginners who panic at "windowpane test" instructions.
| Factor | Bread Machine Method | Hand-Kneaded Method |
|---|---|---|
| Hands-on time | 15 minutes (shaping/filling) | 45+ minutes (kneading/proofing) |
| Texture reliability | Consistently soft (per South Your Mouth testing) | Hit-or-miss (overkneading = tough buns) |
| Cold climate performance | Stable (machine controls temp) | Unpredictable (drafts kill rise) |
| Best for | Weekday mornings, large batches | Artisan shaping, weekend projects |
Your No-Stress Step-by-Step Guide
Alright, let's cut through the fluff. I've made these every Sunday for 5 years, and here's what actually works—no fancy jargon:
- Load the machine: Liquids first (1 cup warm milk, 1 egg), then dry (3 cups flour, 1/4 cup sugar, 2 tsp yeast). Crucial: Never add salt directly on yeast—it kills rise. (Pro tip from Woman's Scribbles)
- Run DOUGH cycle: 90 minutes. Walk away. Seriously.
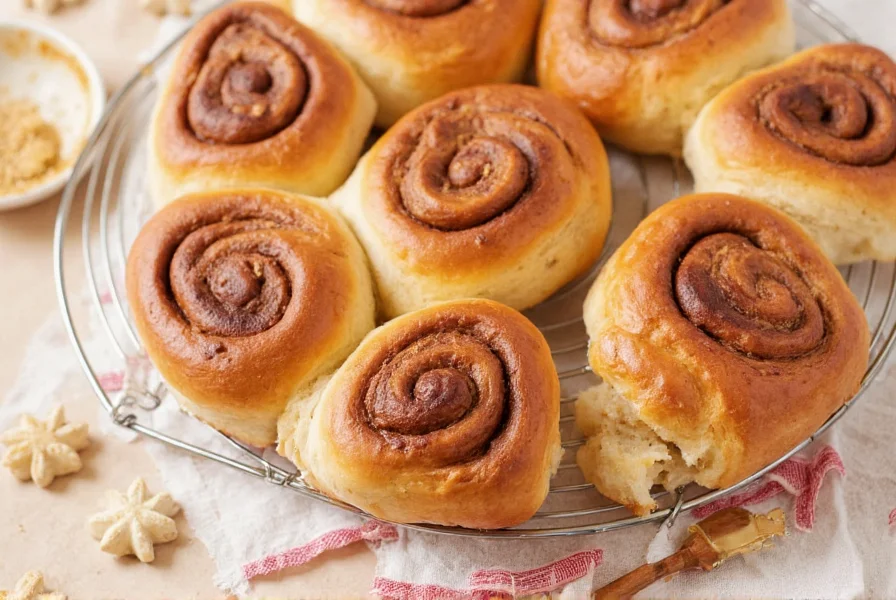
- Shape gently: Roll dough to 18x12 inches. Brush with softened butter (cold butter = disaster). Sprinkle cinnamon-sugar mix (1/2 cup brown sugar + 2 tbsp cinnamon + pinch nutmeg).
- Cut and proof: Slice into 1-inch rolls. Arrange on baking sheet. Proof 25-30 minutes until puffy—not doubled (overproofing causes collapse).
- Bake and frost: 350°F for 12-15 minutes until golden. Slather with cream cheese frosting (Peter's version uses vanilla bean paste for that Cinnabon kick).
When to Grab Your Machine (And When to Skip It)
Let's be practical—this isn't a one-size-fits-all solution. Use your bread machine for cinnamon buns when:
- You're feeding a crowd (it handles large batches without strain)
- Mornings are chaotic (dough cycle runs while you prep kids for school)
- You're new to yeast baking (removes the "will it rise?" anxiety)
But avoid it when:
- You need intricate shapes (like braided buns—the machine's uniform dough limits creativity)
- Using sourdough starter (yeast ratios get messy)
- Your machine is older than 2010 (inconsistent heating ruins texture)
Pro Tips That Prevent "Why Did My Buns Fail?" Moments
After burning through 3 batches testing this, here's what matters:
- Butter must be room temp: As Thriving Home Blog emphasizes, cold butter creates pockets that leak during baking.
- Don't chase stickiness: That "petulant teenager" dough? If it's slightly sticky post-cycle, leave it alone. Over-flouring = cardboard texture.
- Proof in the oven: Turn on oven light for gentle warmth—no heat. Drafts are the enemy.
3 Mistakes That Ruin Your Buns (And How to Fix Them)
I've been there—buns that look like sad pancakes. Avoid these:
- Mistake: Overproofing during final rise
Symptom: Buns collapse in oven
Fix: Set timer for 25 mins max; they should feel airy but spring back slowly - Mistake: Skipping the "room temp" rule for dairy
Symptom: Dense, gummy centers
Fix: Microwave milk 15 seconds—should feel like bathwater - Mistake: Crowding rolls on baking sheet
Symptom: Merged, shapeless buns
Fix: Leave 1-inch gaps—they expand sideways too!
Everything You Need to Know
Yeah, totally—but adjust timing. Active dry needs 10-15 minutes dissolved in warm milk first. Then expect a 45-minute proof instead of 25-30. As Woman's Scribbles confirms, quick rise gives fluffier results, but active dry works fine if that's what you've got.
Two usual culprits: expired yeast (test it in warm water first—should foam in 5 mins) or liquid temps over 120°F (kills yeast). Also, never add salt directly on yeast—it's a silent killer. Peter's Food Adventures nails this: layer ingredients correctly to avoid contact.
Cool completely first—trapped steam = sogginess. Then store unfrosted buns in airtight container for 2 days. Reheat at 300°F for 5 minutes. For longer storage, freeze pre-portioned rolls (no frosting) and bake straight from frozen—add 3 extra minutes. As Thriving Home Blog proves, this preserves texture way better than refrigerating.
Sure, but don't cut more than 25%. Sugar isn't just for sweetness—it feeds yeast during proofing and creates that gooey layer. Try swapping 1/4 cup sugar with coconut sugar for depth, but ditching it entirely risks dry, crumbly buns. Honestly? The cream cheese frosting balances it, so I'd keep the filling ratio intact.
Nice-to-have, not essential. Bread flour's higher protein (12-14%) gives chewier texture, but all-purpose works fine—just add 1 tbsp extra water. As Woman's Scribbles notes, the machine's consistent kneading compensates for lower protein. Save bread flour for bagels; cinnamon buns thrive on tenderness.
More Articles
 Beef Stew Spices Guide: Proven Blends for Rich Flavor
 Perfect Cinnamon Roll Icing: 4 Ingredients, No Failures
 Cinnamon Roll Breakfast Casserole: Reliable Recipe Guide
 Onion Powder to Dried Minced Onion Conversion Ratio: The Complete Guide
 Sausage Egg Cheese Sandwich Guide: Science-Backed Assembly
 Cinnamon Roll Cookies: Quick Guide to Perfect Swirls
 Cinnamon Snacks: Homemade Recipes and Smart Buying Guide
 How to Tell If Sausage Is Bad: Spoilage Signs & Safety
 Broccoli Soup Guide: Quality Choices & Real Tips
 Honey Ginger Salmon: 30-Minute Weeknight Dinner Recipe