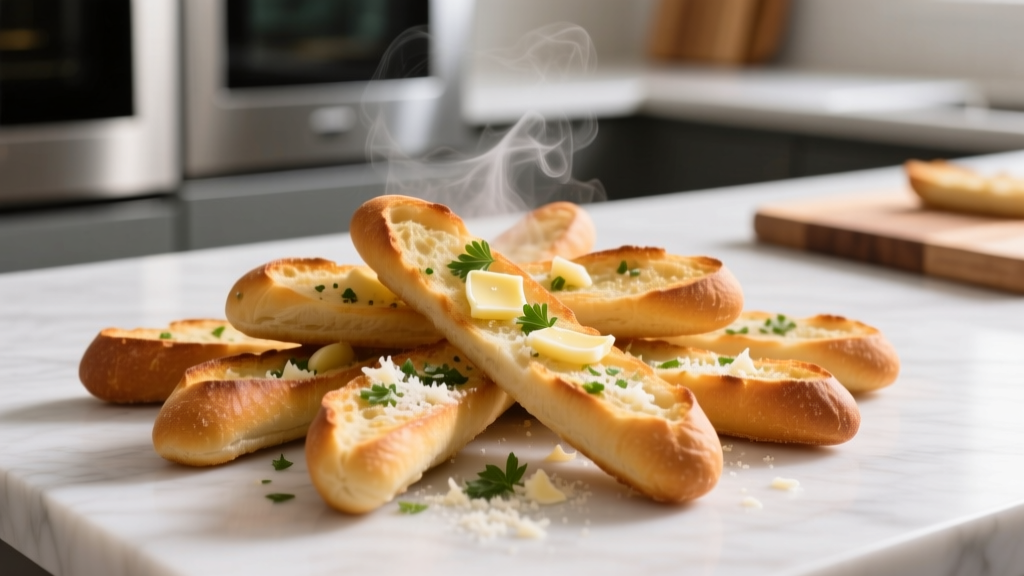
Easy Garlic Bread Sticks Recipe: Crispy Homemade Guide
Why Bother Making Your Own? (Spoiler: It’s Way Better)
Let's be real—store-bought garlic bread sticks often taste stale, loaded with weird preservatives, and cost way too much for what you get. I've tested dozens of batches over 20 years, and honestly? Homemade wins every time. You control the ingredients, skip the junk, and get that perfect crispy-soft texture. Plus, it’s dead simple. Grab a baguette, and let’s fix this.
What You’ll Actually Need (No Gimmicks)
Forget complicated lists. You’ve probably got 90% of this in your kitchen right now. Here’s the bare essentials:
- 1 day-old baguette (sliced into sticks—trust me, stale bread crisps better)
- ½ cup unsalted butter, softened (real butter, not margarine)
- 3–4 fresh garlic cloves, minced (bottled stuff? Nah, fresh is non-negotiable)
- 2 tbsp fresh parsley, chopped (dried works in a pinch, but fresh elevates it)
- ¼ tsp red pepper flakes (optional, but adds a nice kick)
- Salt to taste
Oh, and grab a baking sheet—you’re not fancy-pantsing this with special pans.
Step-by-Step: How to Nail It in 20 Minutes
Look, I’ve burned my fair share of batches figuring this out. Here’s the streamlined method that actually works:
- Prep the bread: Slice baguette into ½-inch sticks. Don’t skip drying them out—leave on counter 10 mins so they absorb butter without getting soggy.
- Mix the garlic butter: Whip butter, minced garlic, parsley, red pepper flakes, and salt. Pro tip: Let it sit 5 mins so flavors meld. Rushing this = bland sticks.
- Coat evenly: Spread butter mix thickly on all sides of sticks. Seriously, don’t be shy—under-buttering is the #1 rookie mistake.
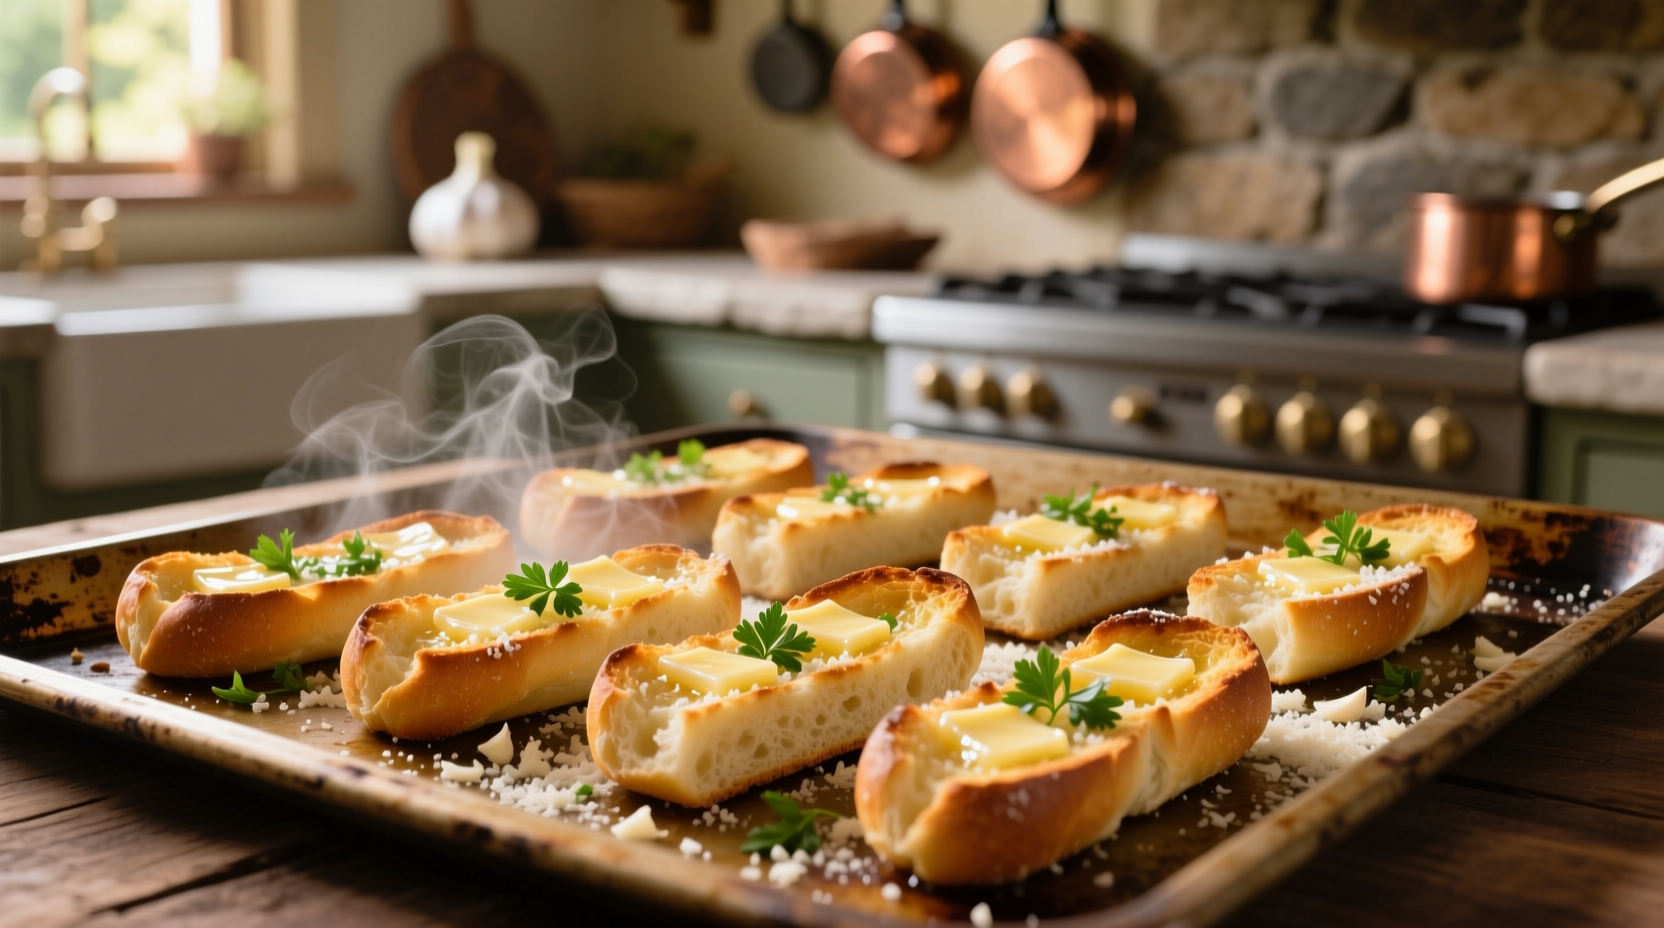
- Bake smart: Arrange on ungreased baking sheet. 375°F for 12–15 mins until golden. Flip halfway! Skipping this = burnt bottoms, raw tops.
- Serve hot: Pull them out when edges look crisp. They keep crisping as they cool—patience pays off.
| Baking Method | Time | Texture Result | When to Choose This |
|---|---|---|---|
| Oven (standard) | 12–15 mins | Crispy outside, soft inside | Family dinners, big batches |
| Air Fryer | 8–10 mins | Extra crispy all over | Small snacks, quick fixes |
| Broiler (high risk!) | 3–4 mins | Burnt easily, uneven | Avoid unless watching like a hawk |

When to Whip These Up (and When to Skip)
Not every situation calls for garlic bread sticks—here’s my real-world take:
- Use them when: Hosting last-minute guests (ready faster than pizza!), need a cheap kid-friendly snack, or want to use up stale bread. They’re killer with soups or salads.
- Avoid when: You’re baking gluten-free without testing subs (regular flour won’t cut it), or if you’re short on 15+ minutes—rushing = sad, soggy sticks. Also skip if garlic breath ruins your date night plans!
Don’t Repeat These 3 Mistakes (Learned the Hard Way)
I’ve seen folks wreck perfect batches over tiny errors. Here’s how to dodge them:
- Mistake #1: Using fresh bread—it soaks up butter like a sponge. Always use day-old or lightly toasted sticks first.
- Mistake #2: Overloading garlic—more isn’t better. Stick to 3–4 cloves max; too much burns and turns bitter.
- Mistake #3: Ignoring oven hot spots—rotate the pan halfway. My oven’s back right corner runs hot—yours might too.
Everything You Need to Know
Absolutely—but prep the garlic butter and slice bread ahead, then store separately. Assemble and bake right before serving. Baking ahead makes them soggy; the magic is in that fresh-from-oven crisp.
Store cooled sticks in an airtight container at room temp for up to 2 days. Reheat in oven (350°F for 5 mins) or air fryer—never microwave! It turns them rubbery. Honestly, they rarely last that long.
Sogginess usually means too much butter or fresh bread. Use day-old baguette, pat sticks dry before buttering, and spread butter thinly on all sides. Also, overcrowding the pan traps steam—give sticks space to breathe.
Yep, but use half the amount—dried herbs are more concentrated. Swap 2 tbsp fresh parsley for 1 tbsp dried. Just don’t expect the same bright flavor; fresh really makes it pop. Keep dried as a backup, not the star.
Gluten-free baguettes work but behave differently—they crisp faster and can dry out. Bake at 350°F for 8–10 mins max, and brush with extra butter to prevent brittleness. Test one stick first; GF flours vary wildly by brand.
More Articles
 Cream Cheese Potato Soup Crock Pot: Foolproof Recipe Guide
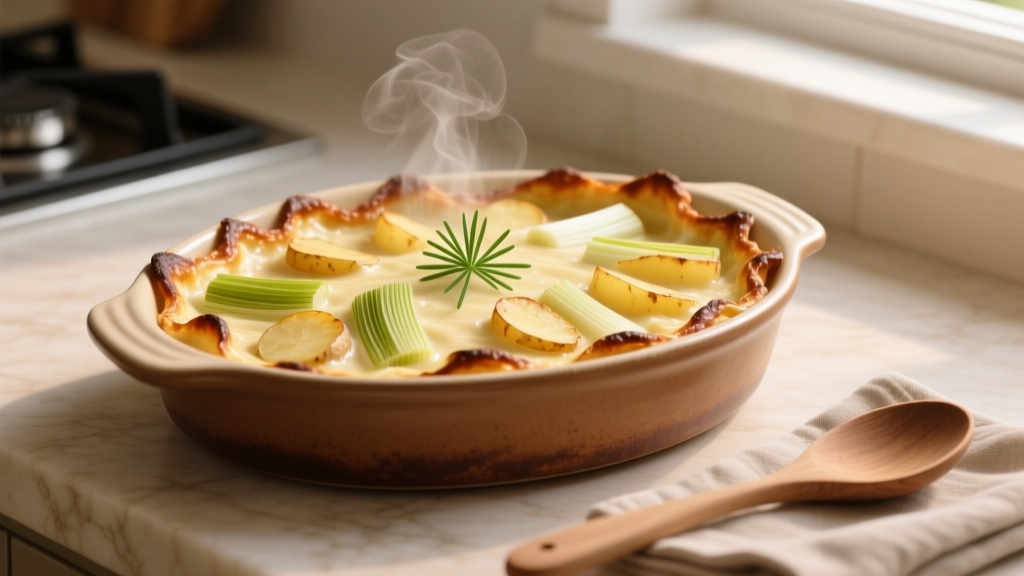 Potato and Leek Gratin: Foolproof Recipe & Pro Tips
 Garlic Rosemary Bread: Simple Recipe & Pro Tips
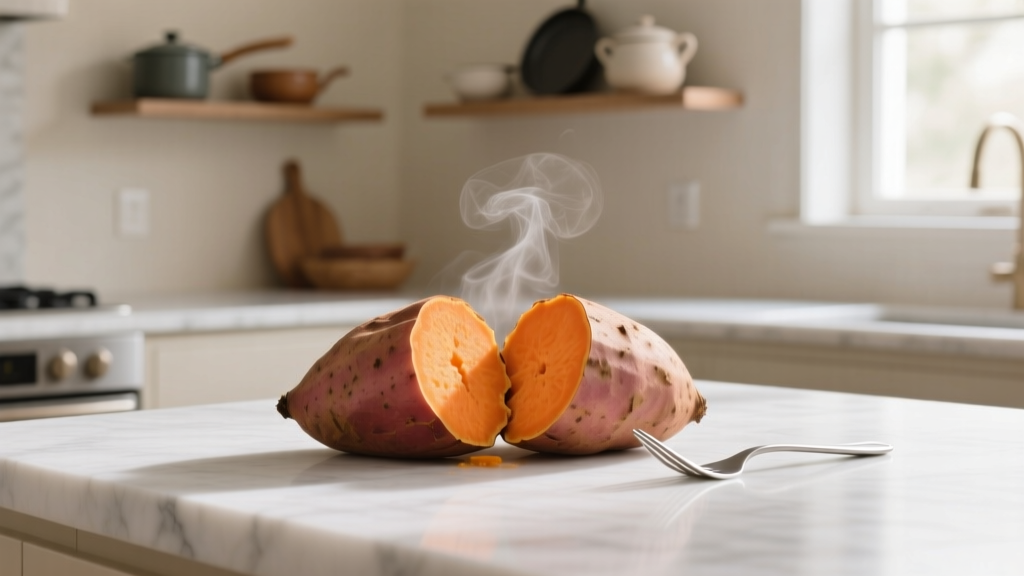 How Long Do Cooked Sweet Potatoes Last in Fridge: 3-5 Days
 Onion Fritters: Crispy Recipe Guide & Expert Tips
 How Many Ounces of Spinach in a Cup: Raw vs Cooked Measurements
 Air Fryer Baked Potatoes: Faster Than Oven, Better Texture (Proof)
 Spinach Orzo: Simple Weeknight Dinner Done Right
 Japanese Sweet Potato Calories: Complete Nutritional Guide
 Boiled Sweet Potato: Steps, Benefits & When to Avoid